As the days lengthen in the Northern hemisphere it is time to start thinking of growing plants from seed. The blog this month explains an easy method to start hardy seeds outside in winter. It is so simple you will be able to do this with your children and grandchildren. Just don’t give them the sharp knife – you will see what I mean as we go through the instructions.
Winter seed sowing is used to germinate cold-hardy annuals and perennials that do best if they have a period of cold temperature prior to the warmth of spring. An ideal, no-fuss, little-work way of doing this is to use recycled plastic food jugs, like those used for milk, iced tea, or lemonade.
Just to be clear I am not a fan of plastic use in the garden – I try every way that I can to avoid it. However, if we do drink milk in large plastic containers I would rather use them again for something useful. The milk jug becomes like a mini greenhouse. The seeds that you will sow are hardy ones – those that can freeze and not be killed.
Step-by-step instructions to grow seedlings in old plastic milk jugs in winter
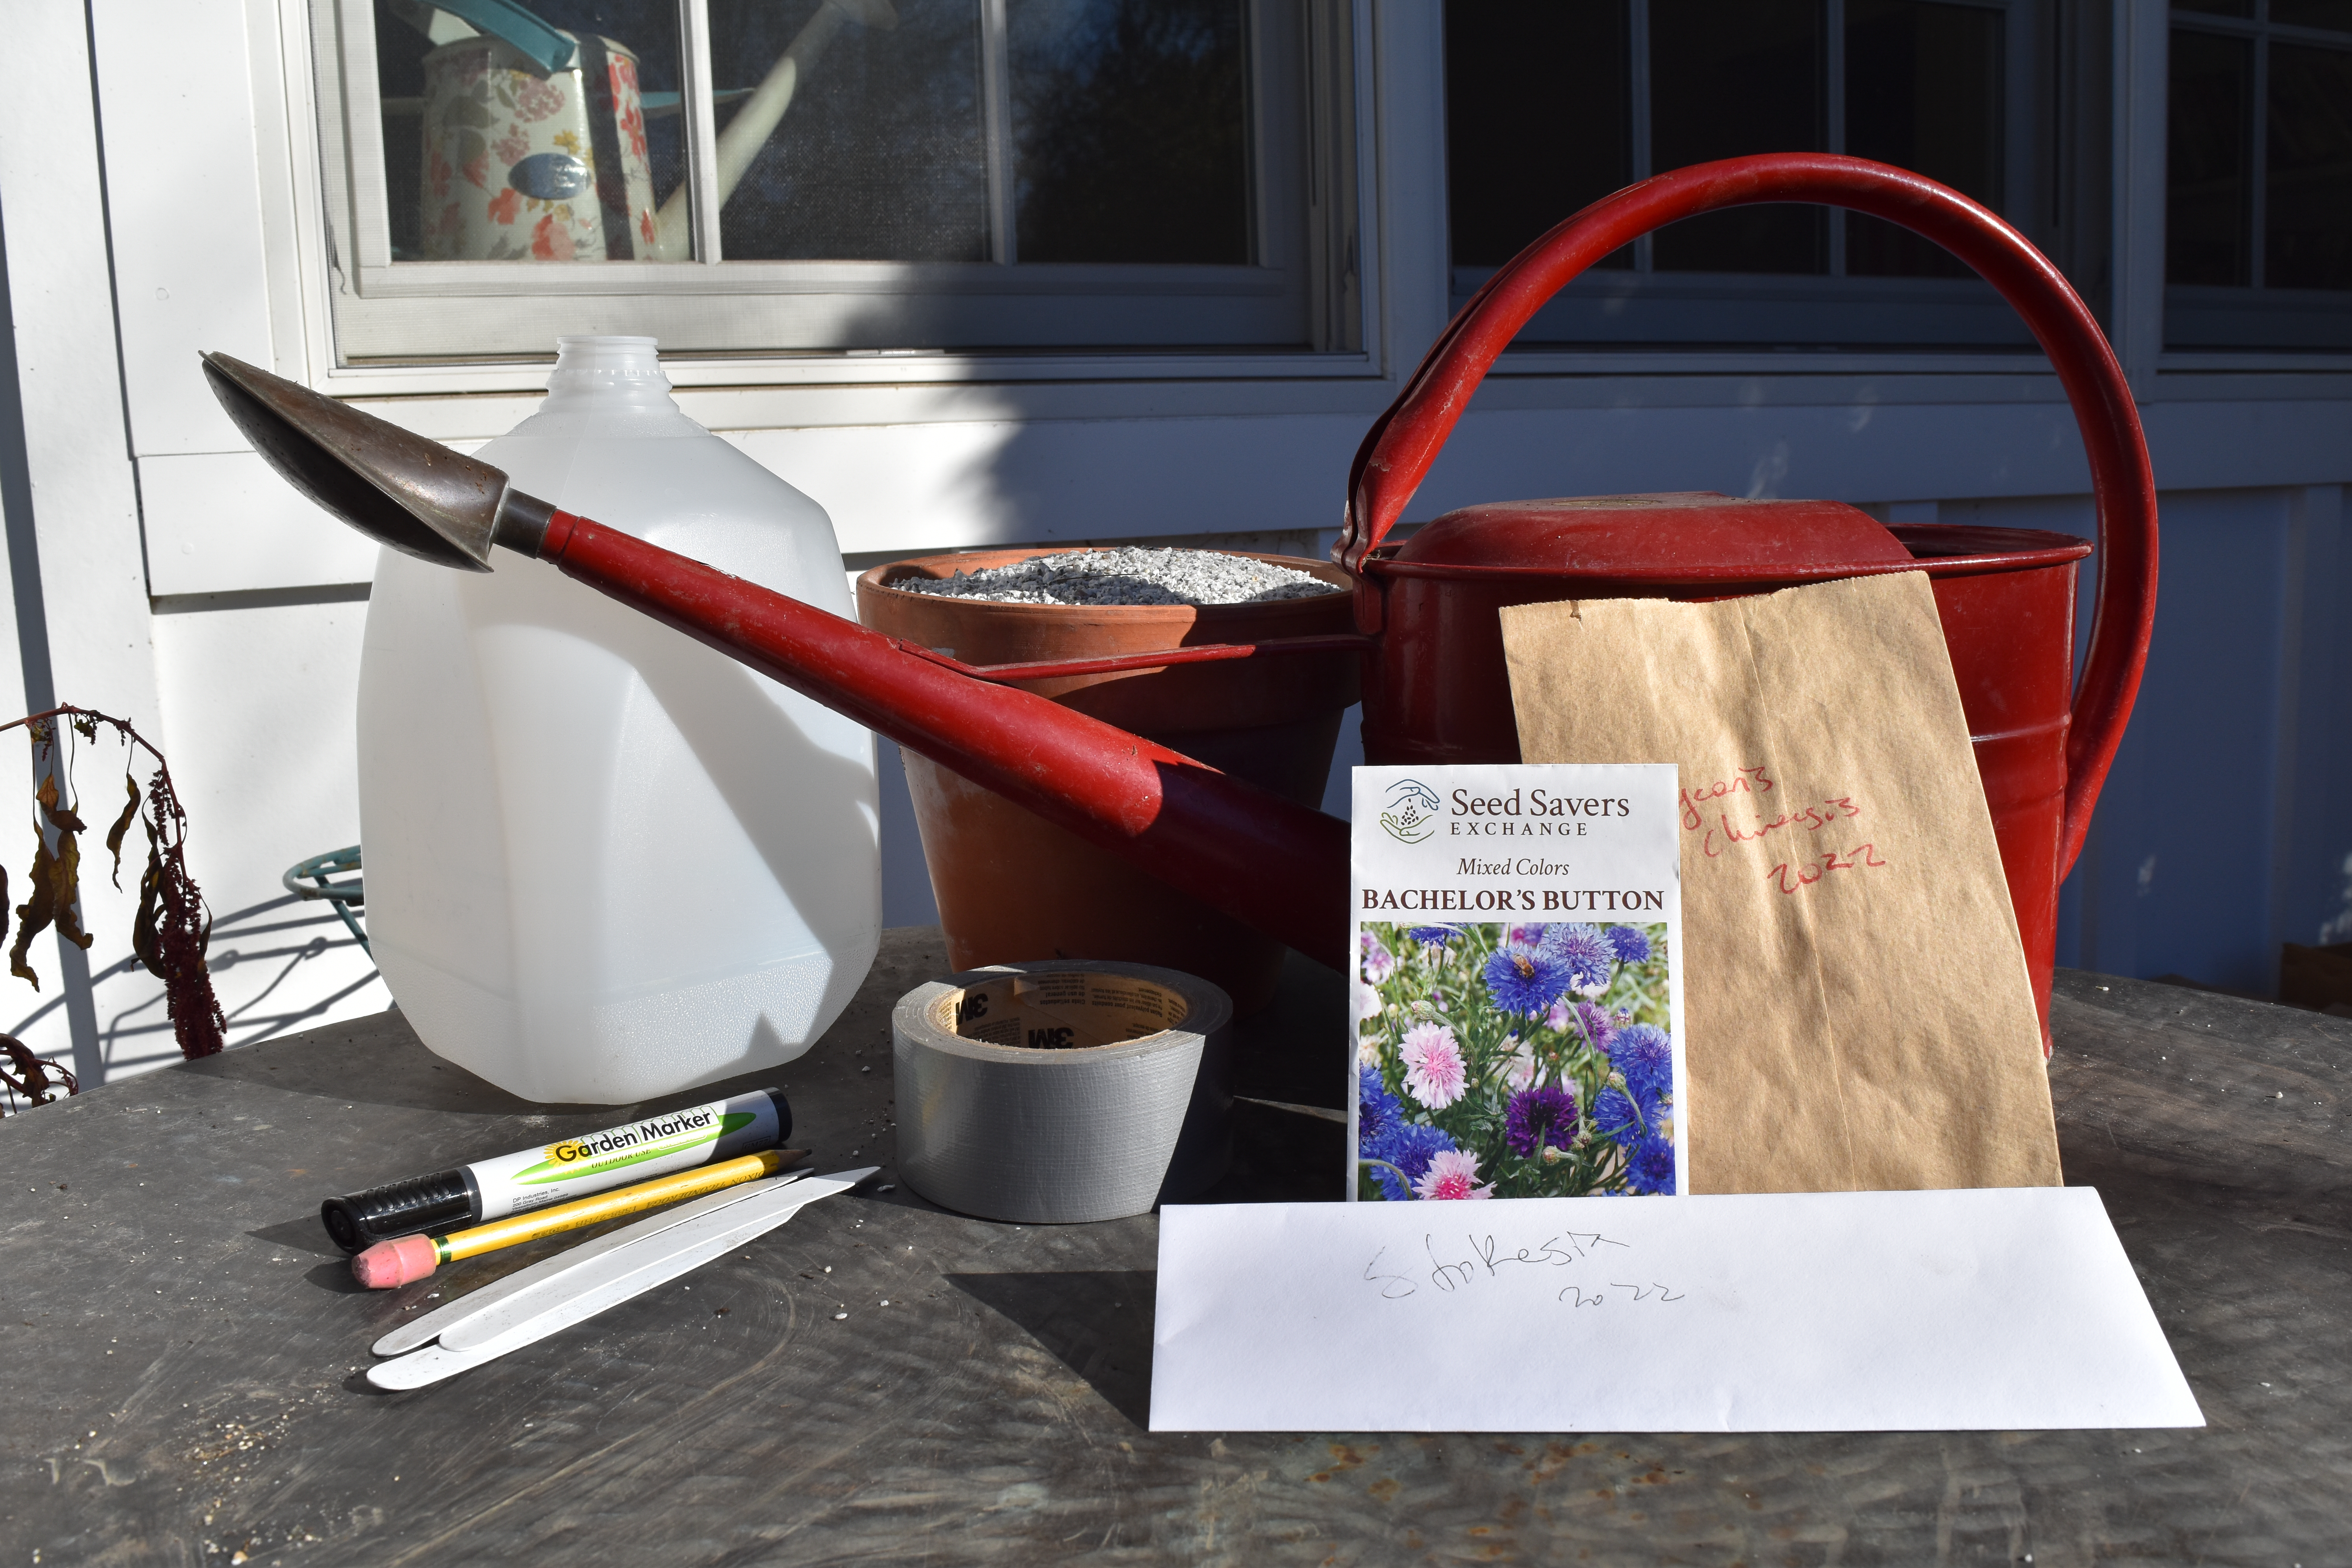
Wash out the plastic jugs and let them dry. Recycle the lids.
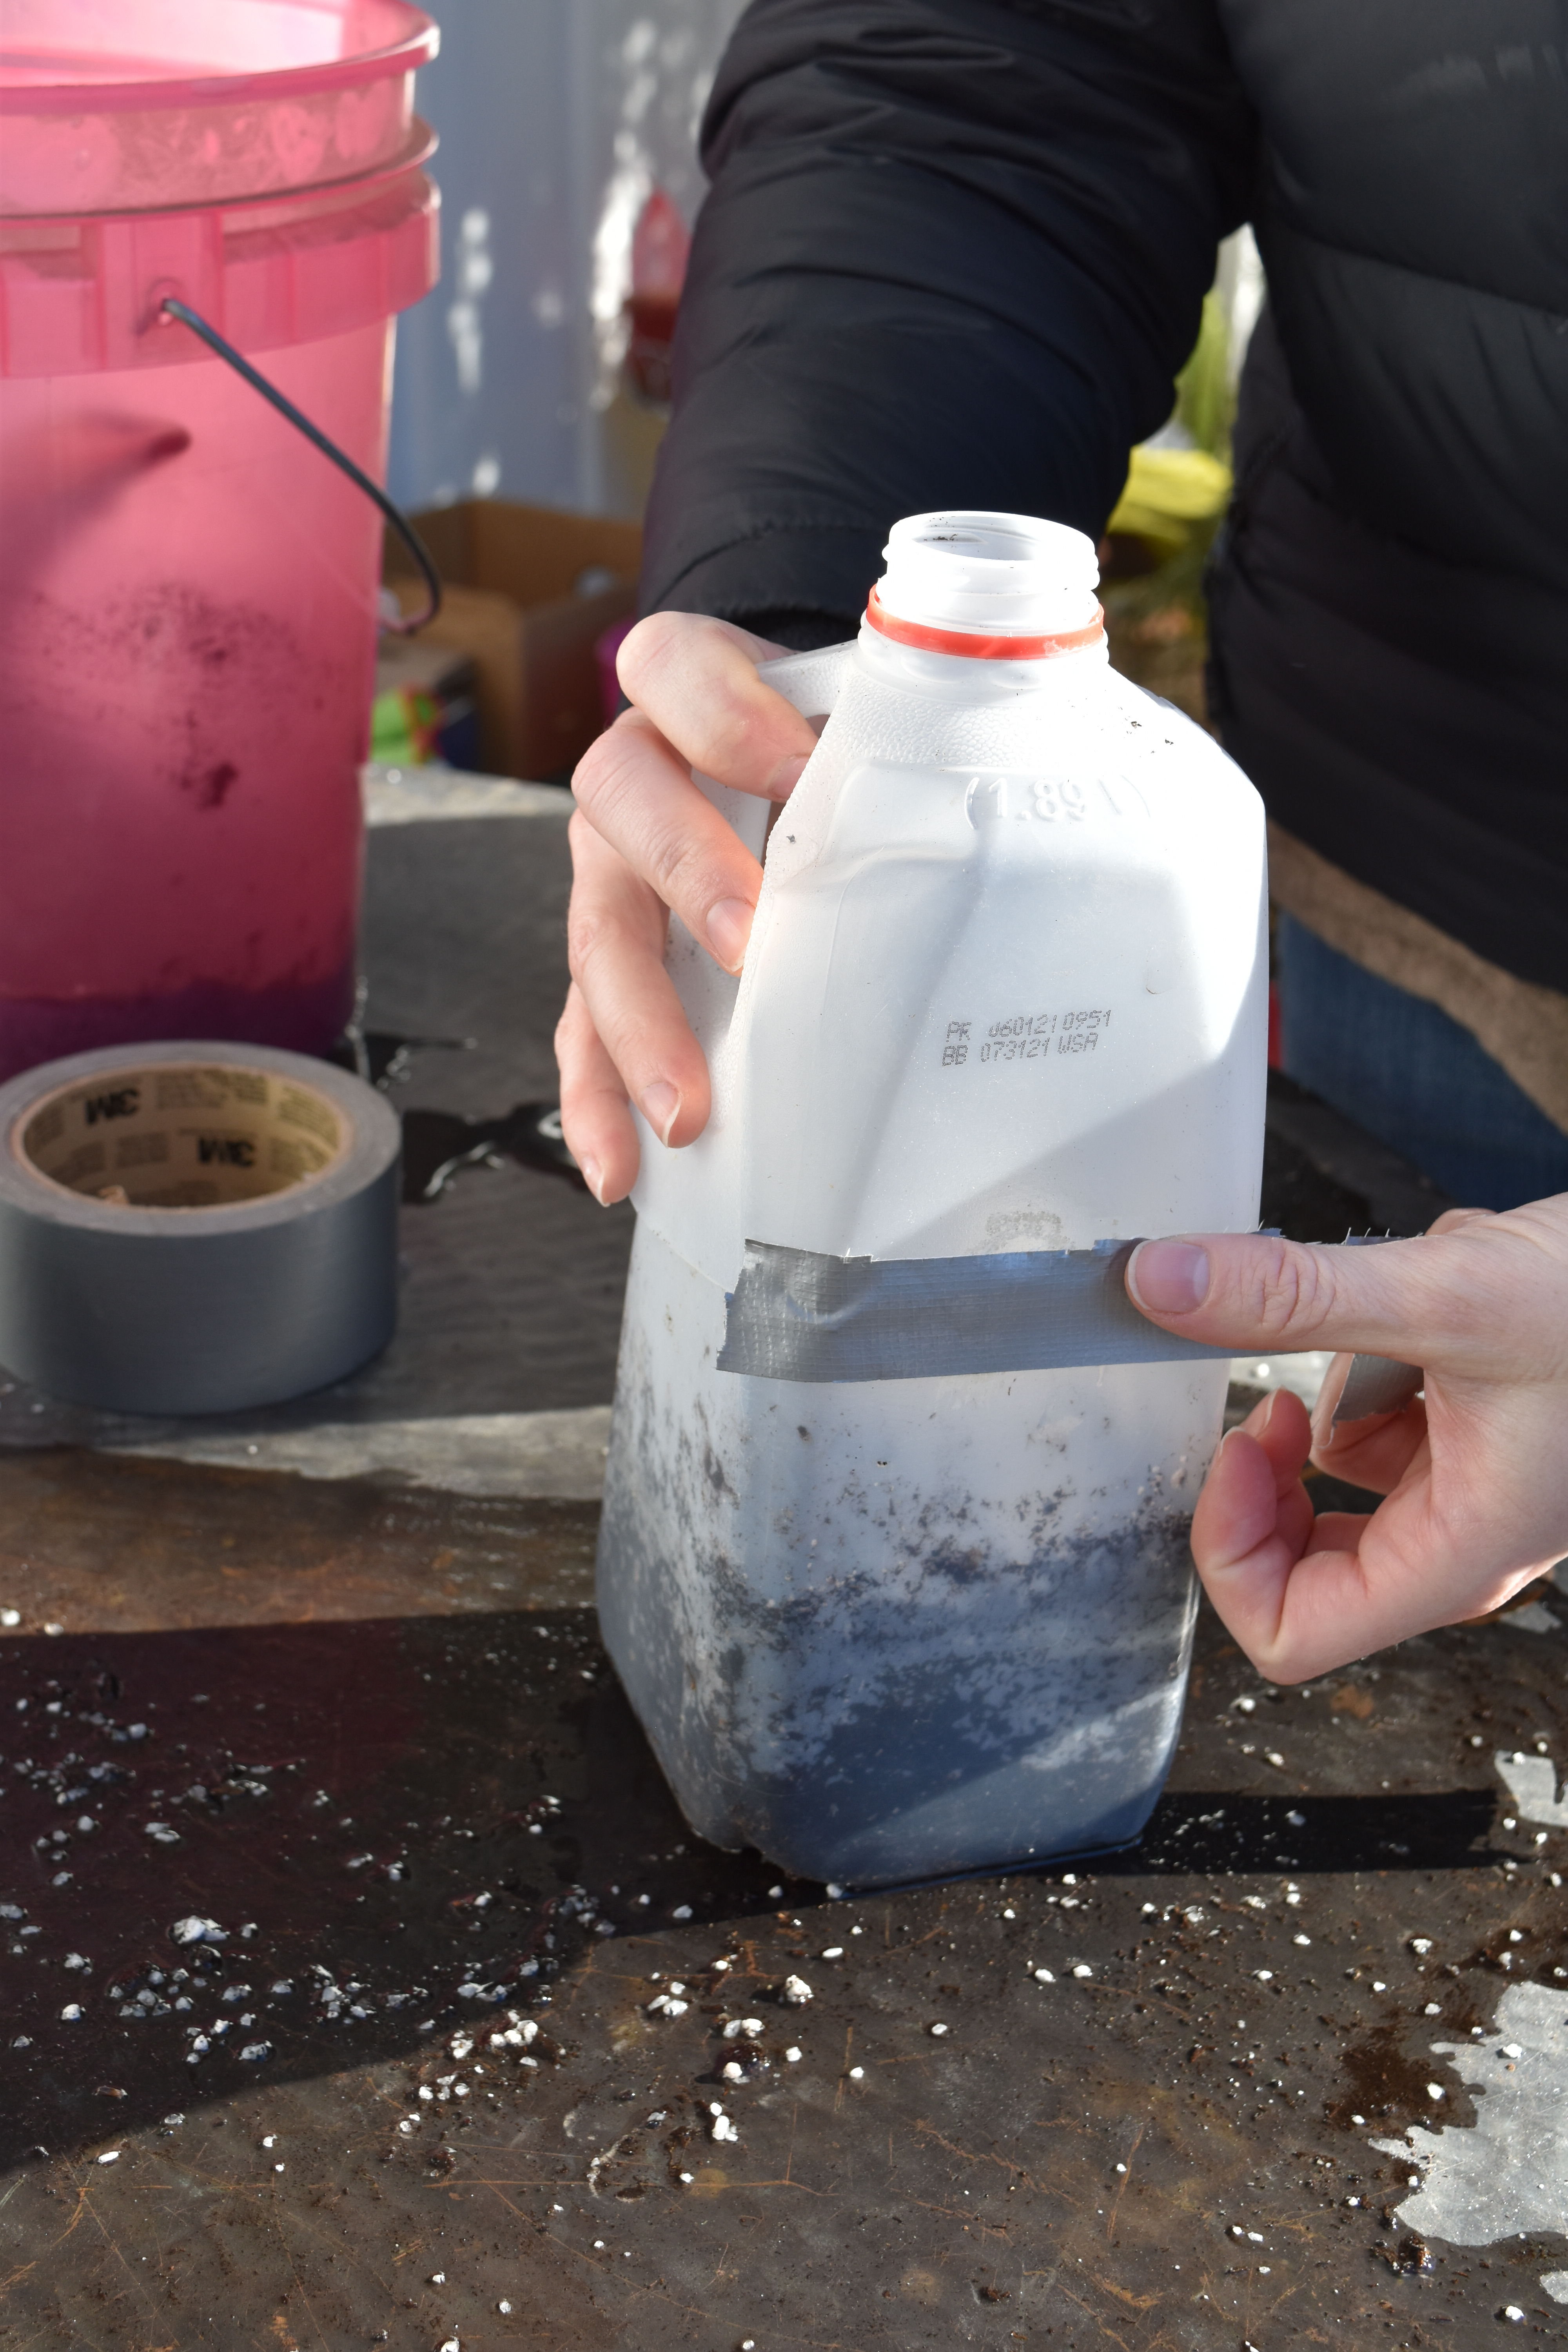
Mark a line 1/3rd of the way up the jugs with a marker pen

Cut around the line but leave the part by the handle attached
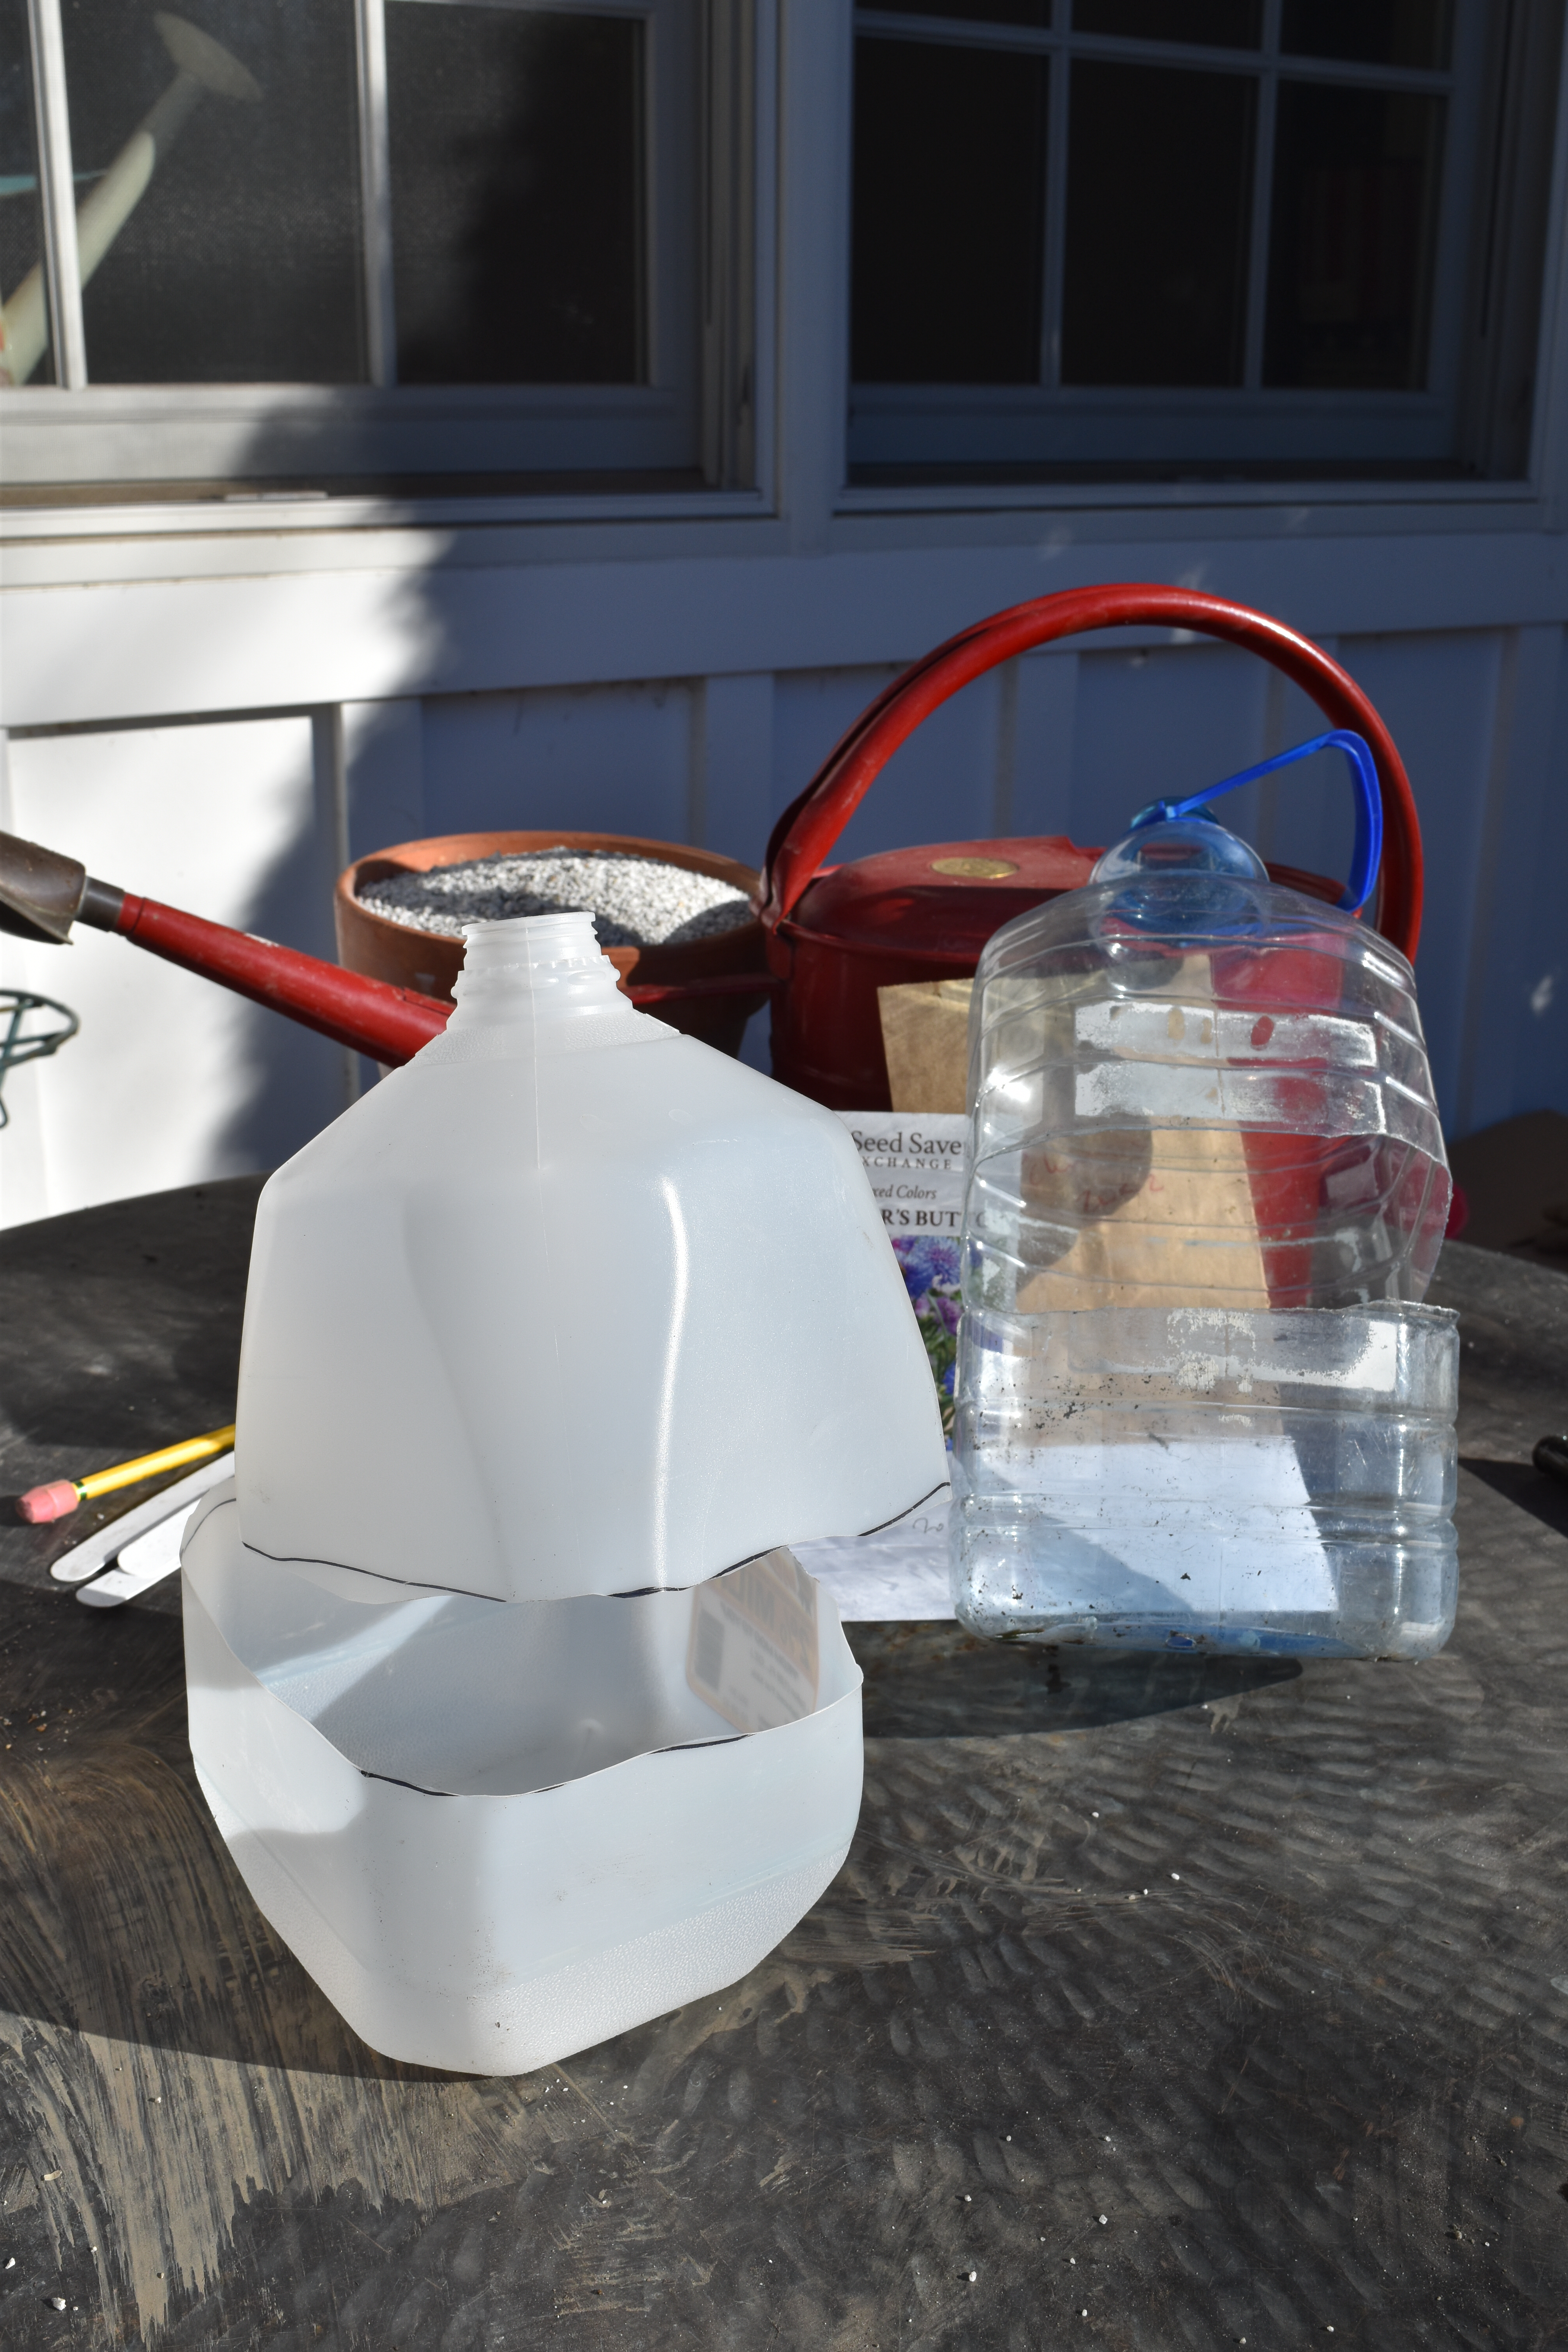
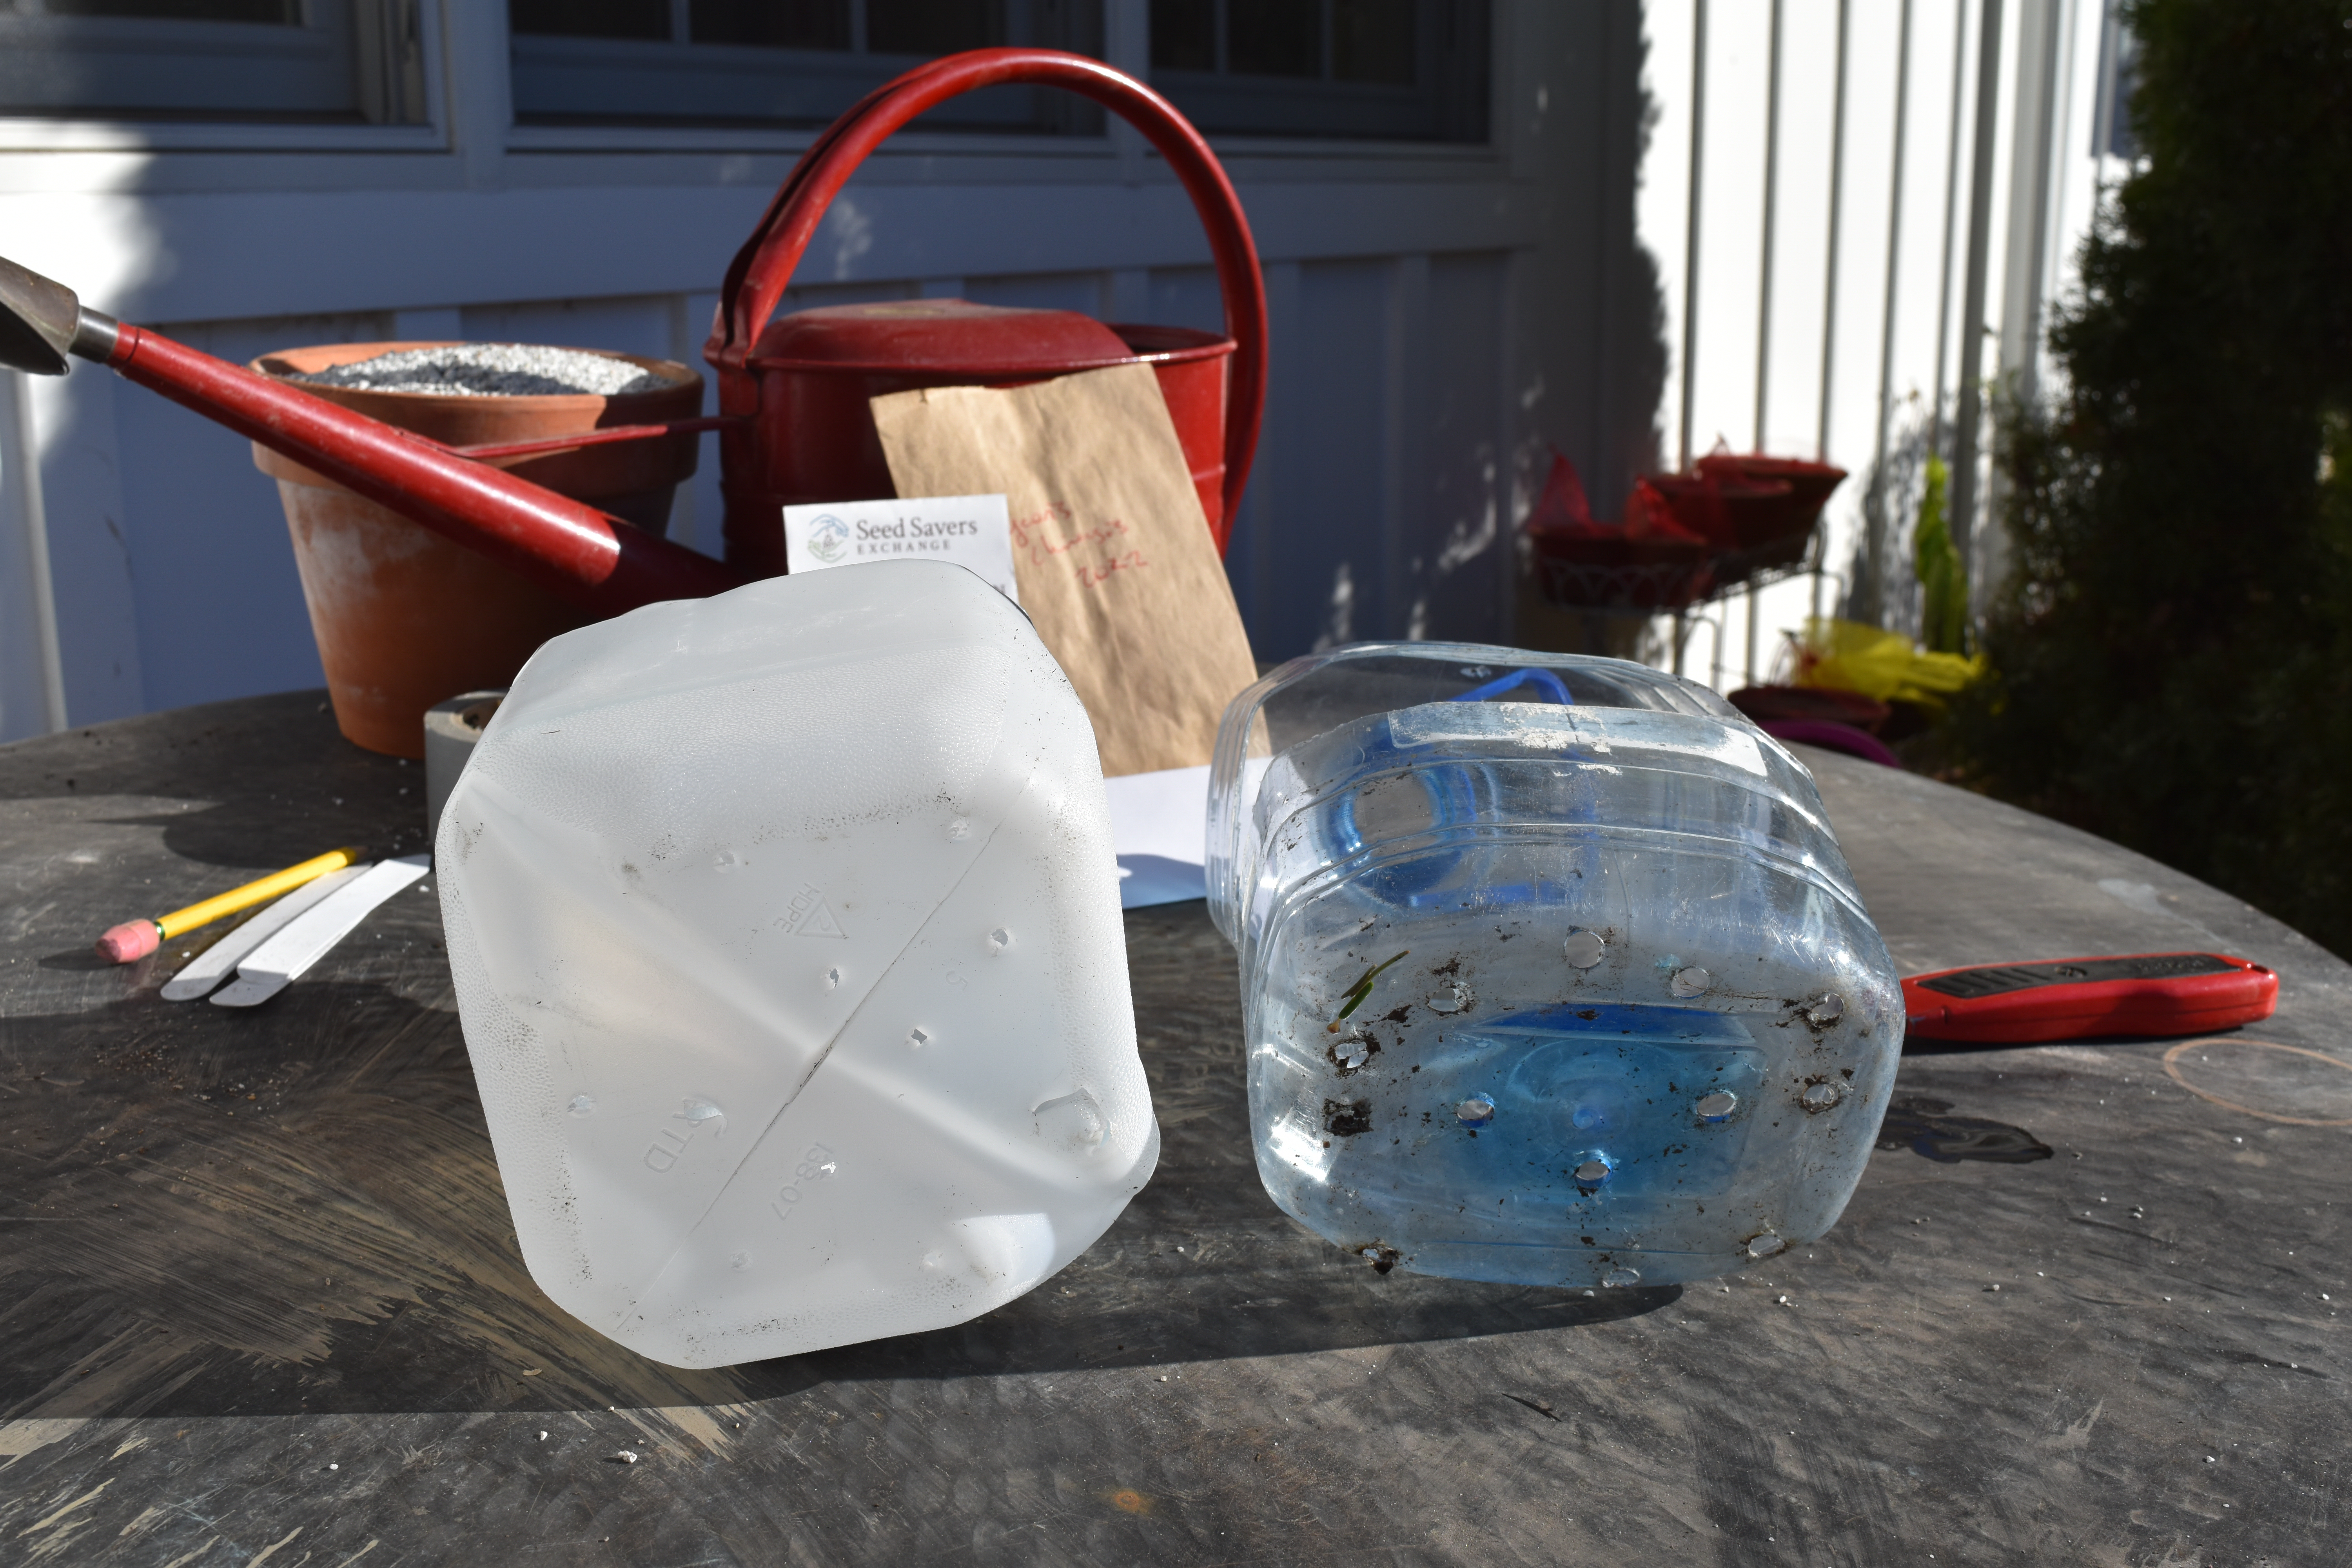
Make holes in the bottom and sides of the jug for drainage and air circulation. You can use a screwdriver and hammer through the plastic onto a block of scrap lumber. You can drill holes or cut them with a knife or scissors.
Take all necessary safety precautions like wearing work gloves and eye protection.
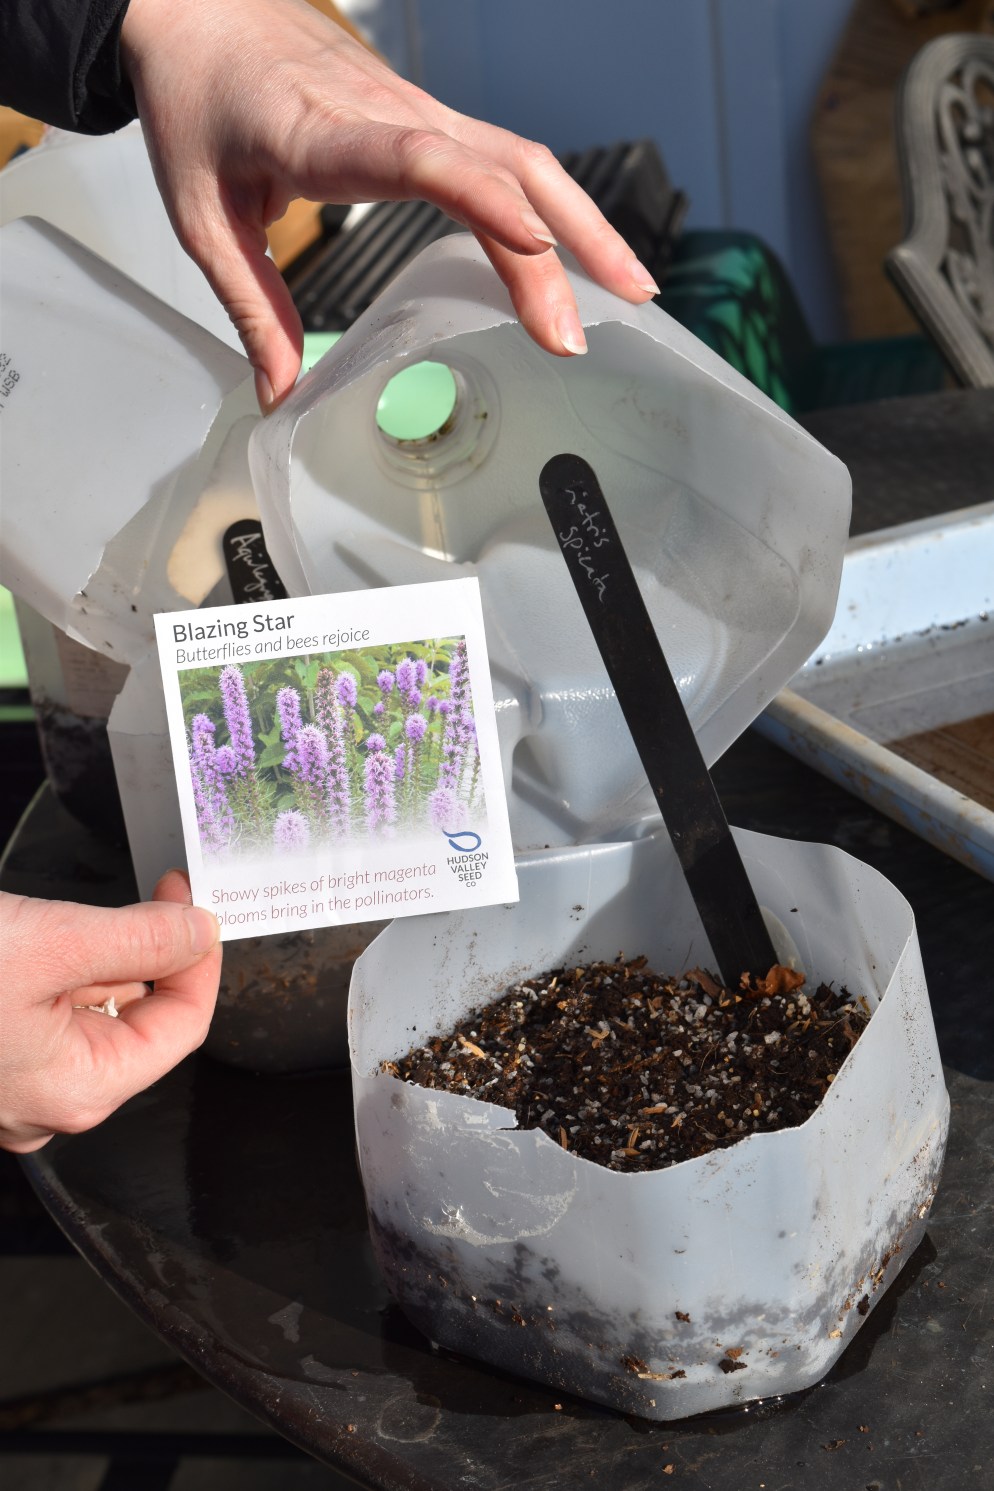
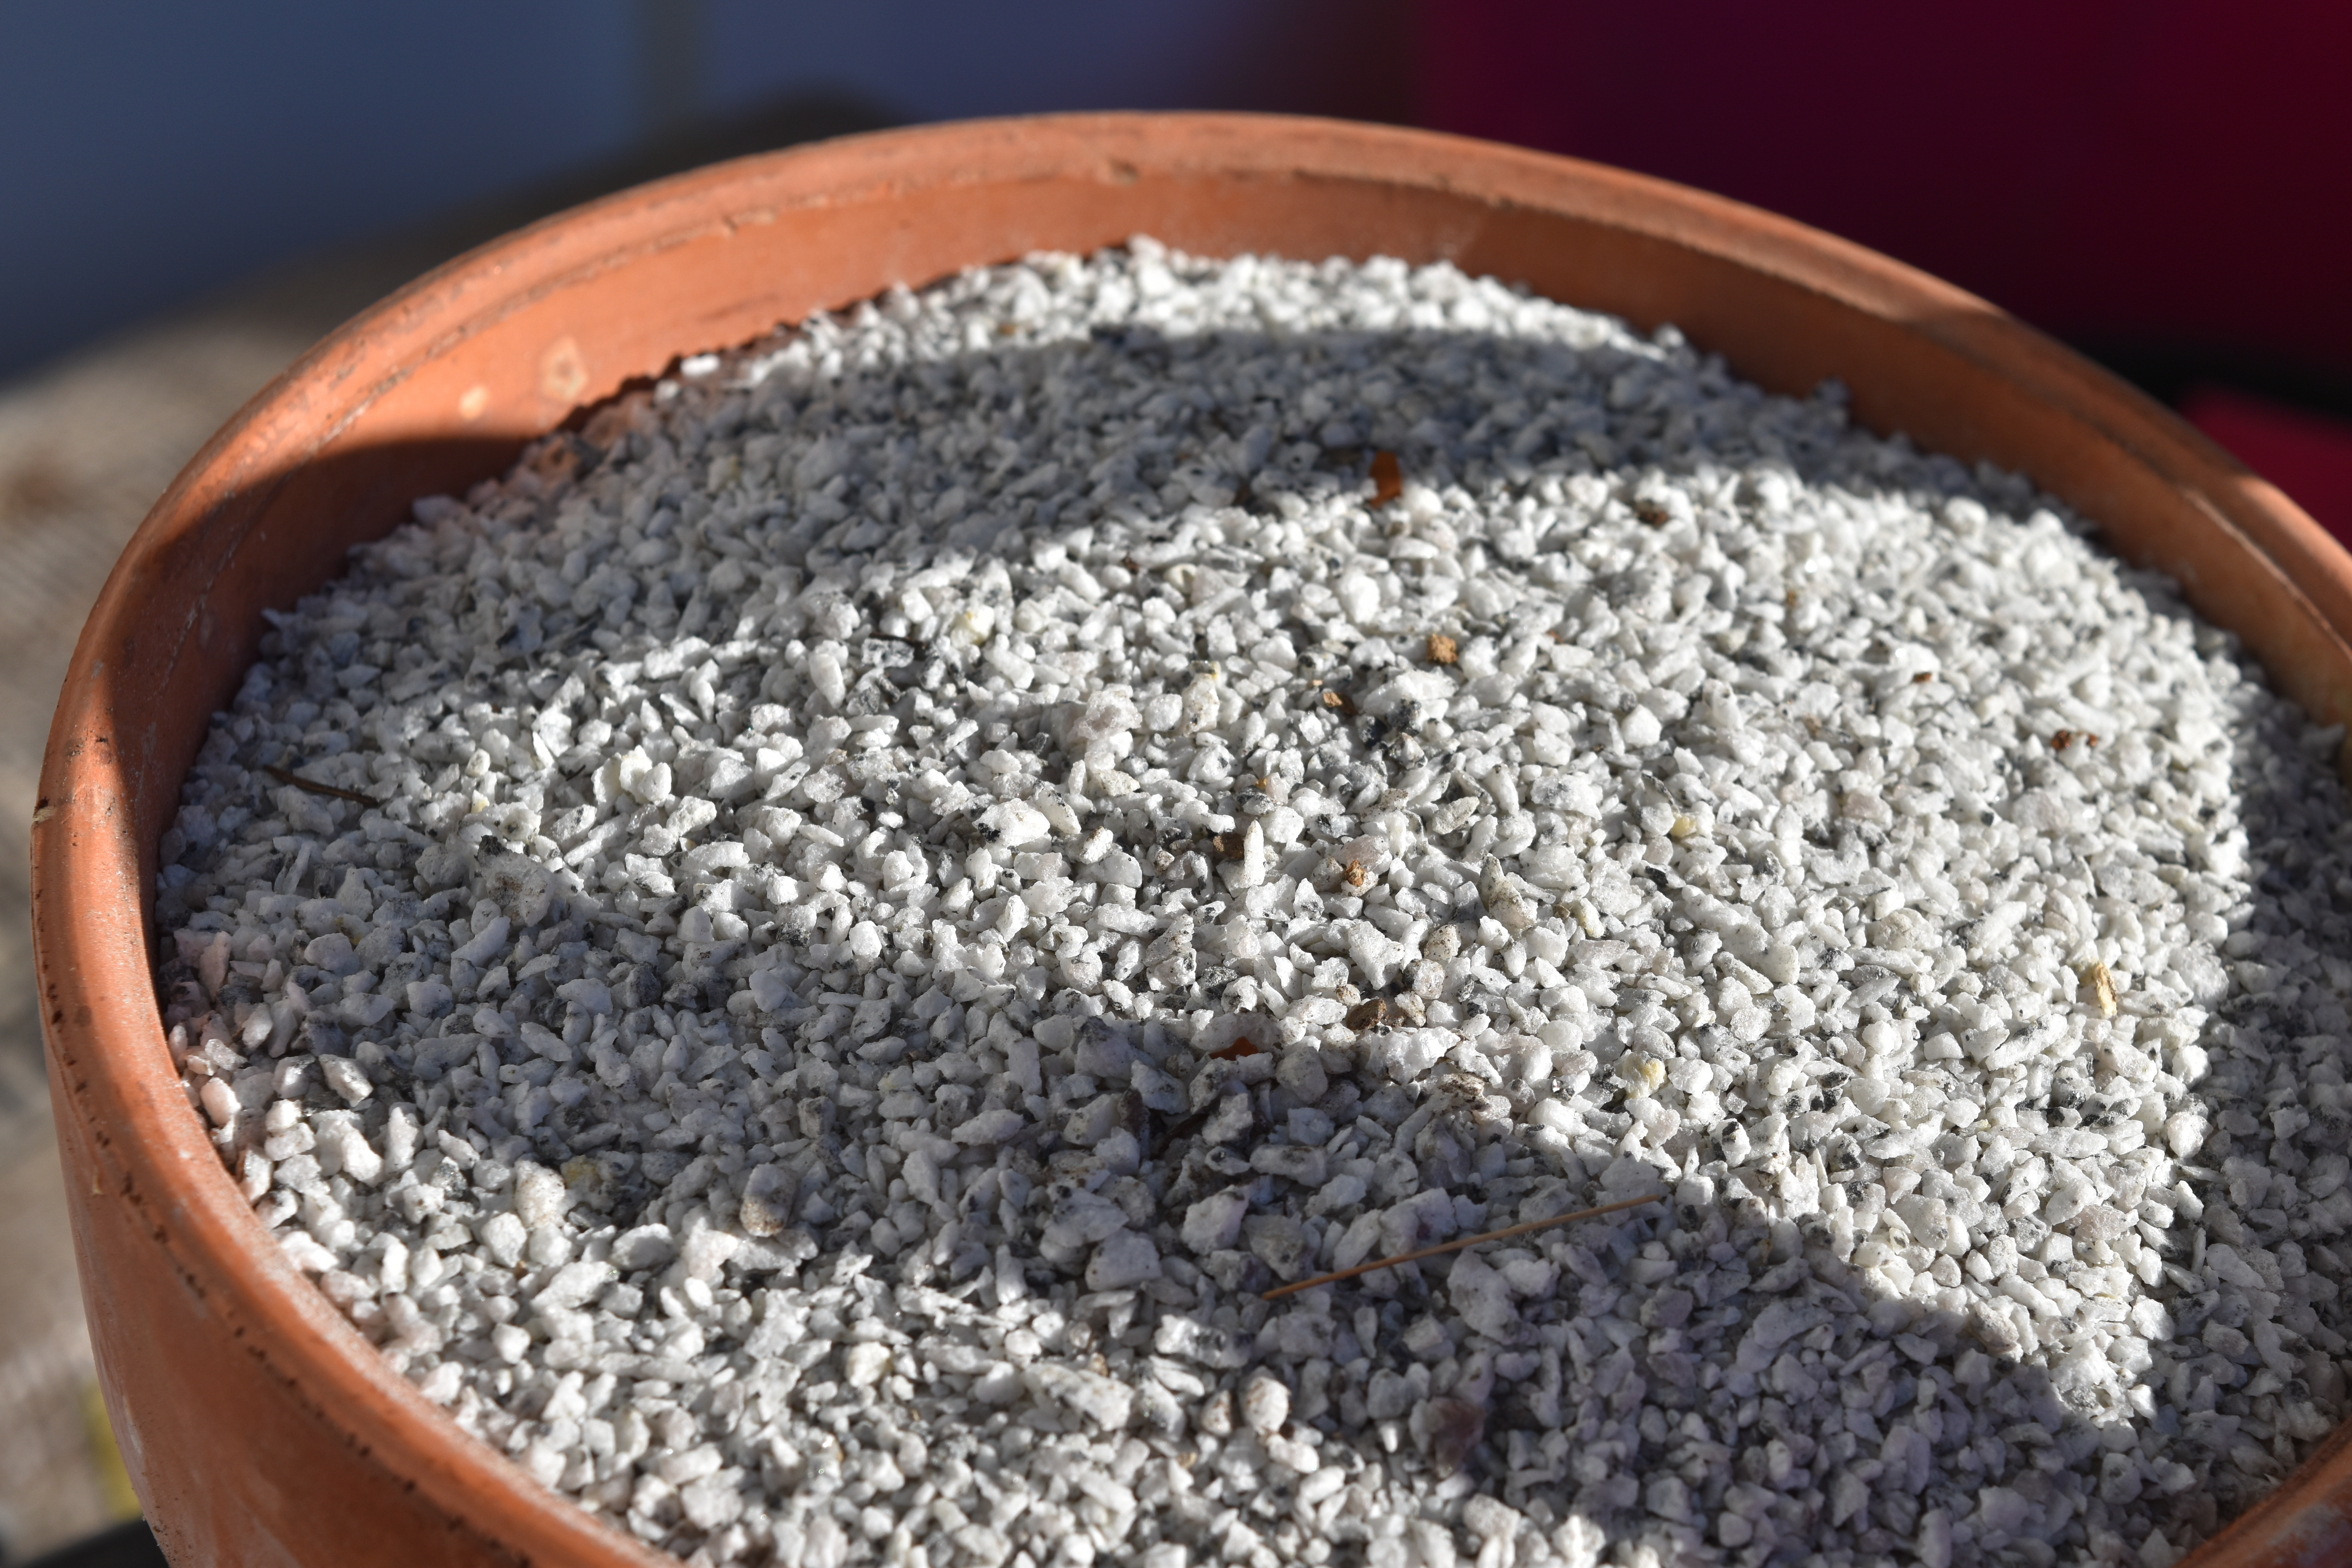
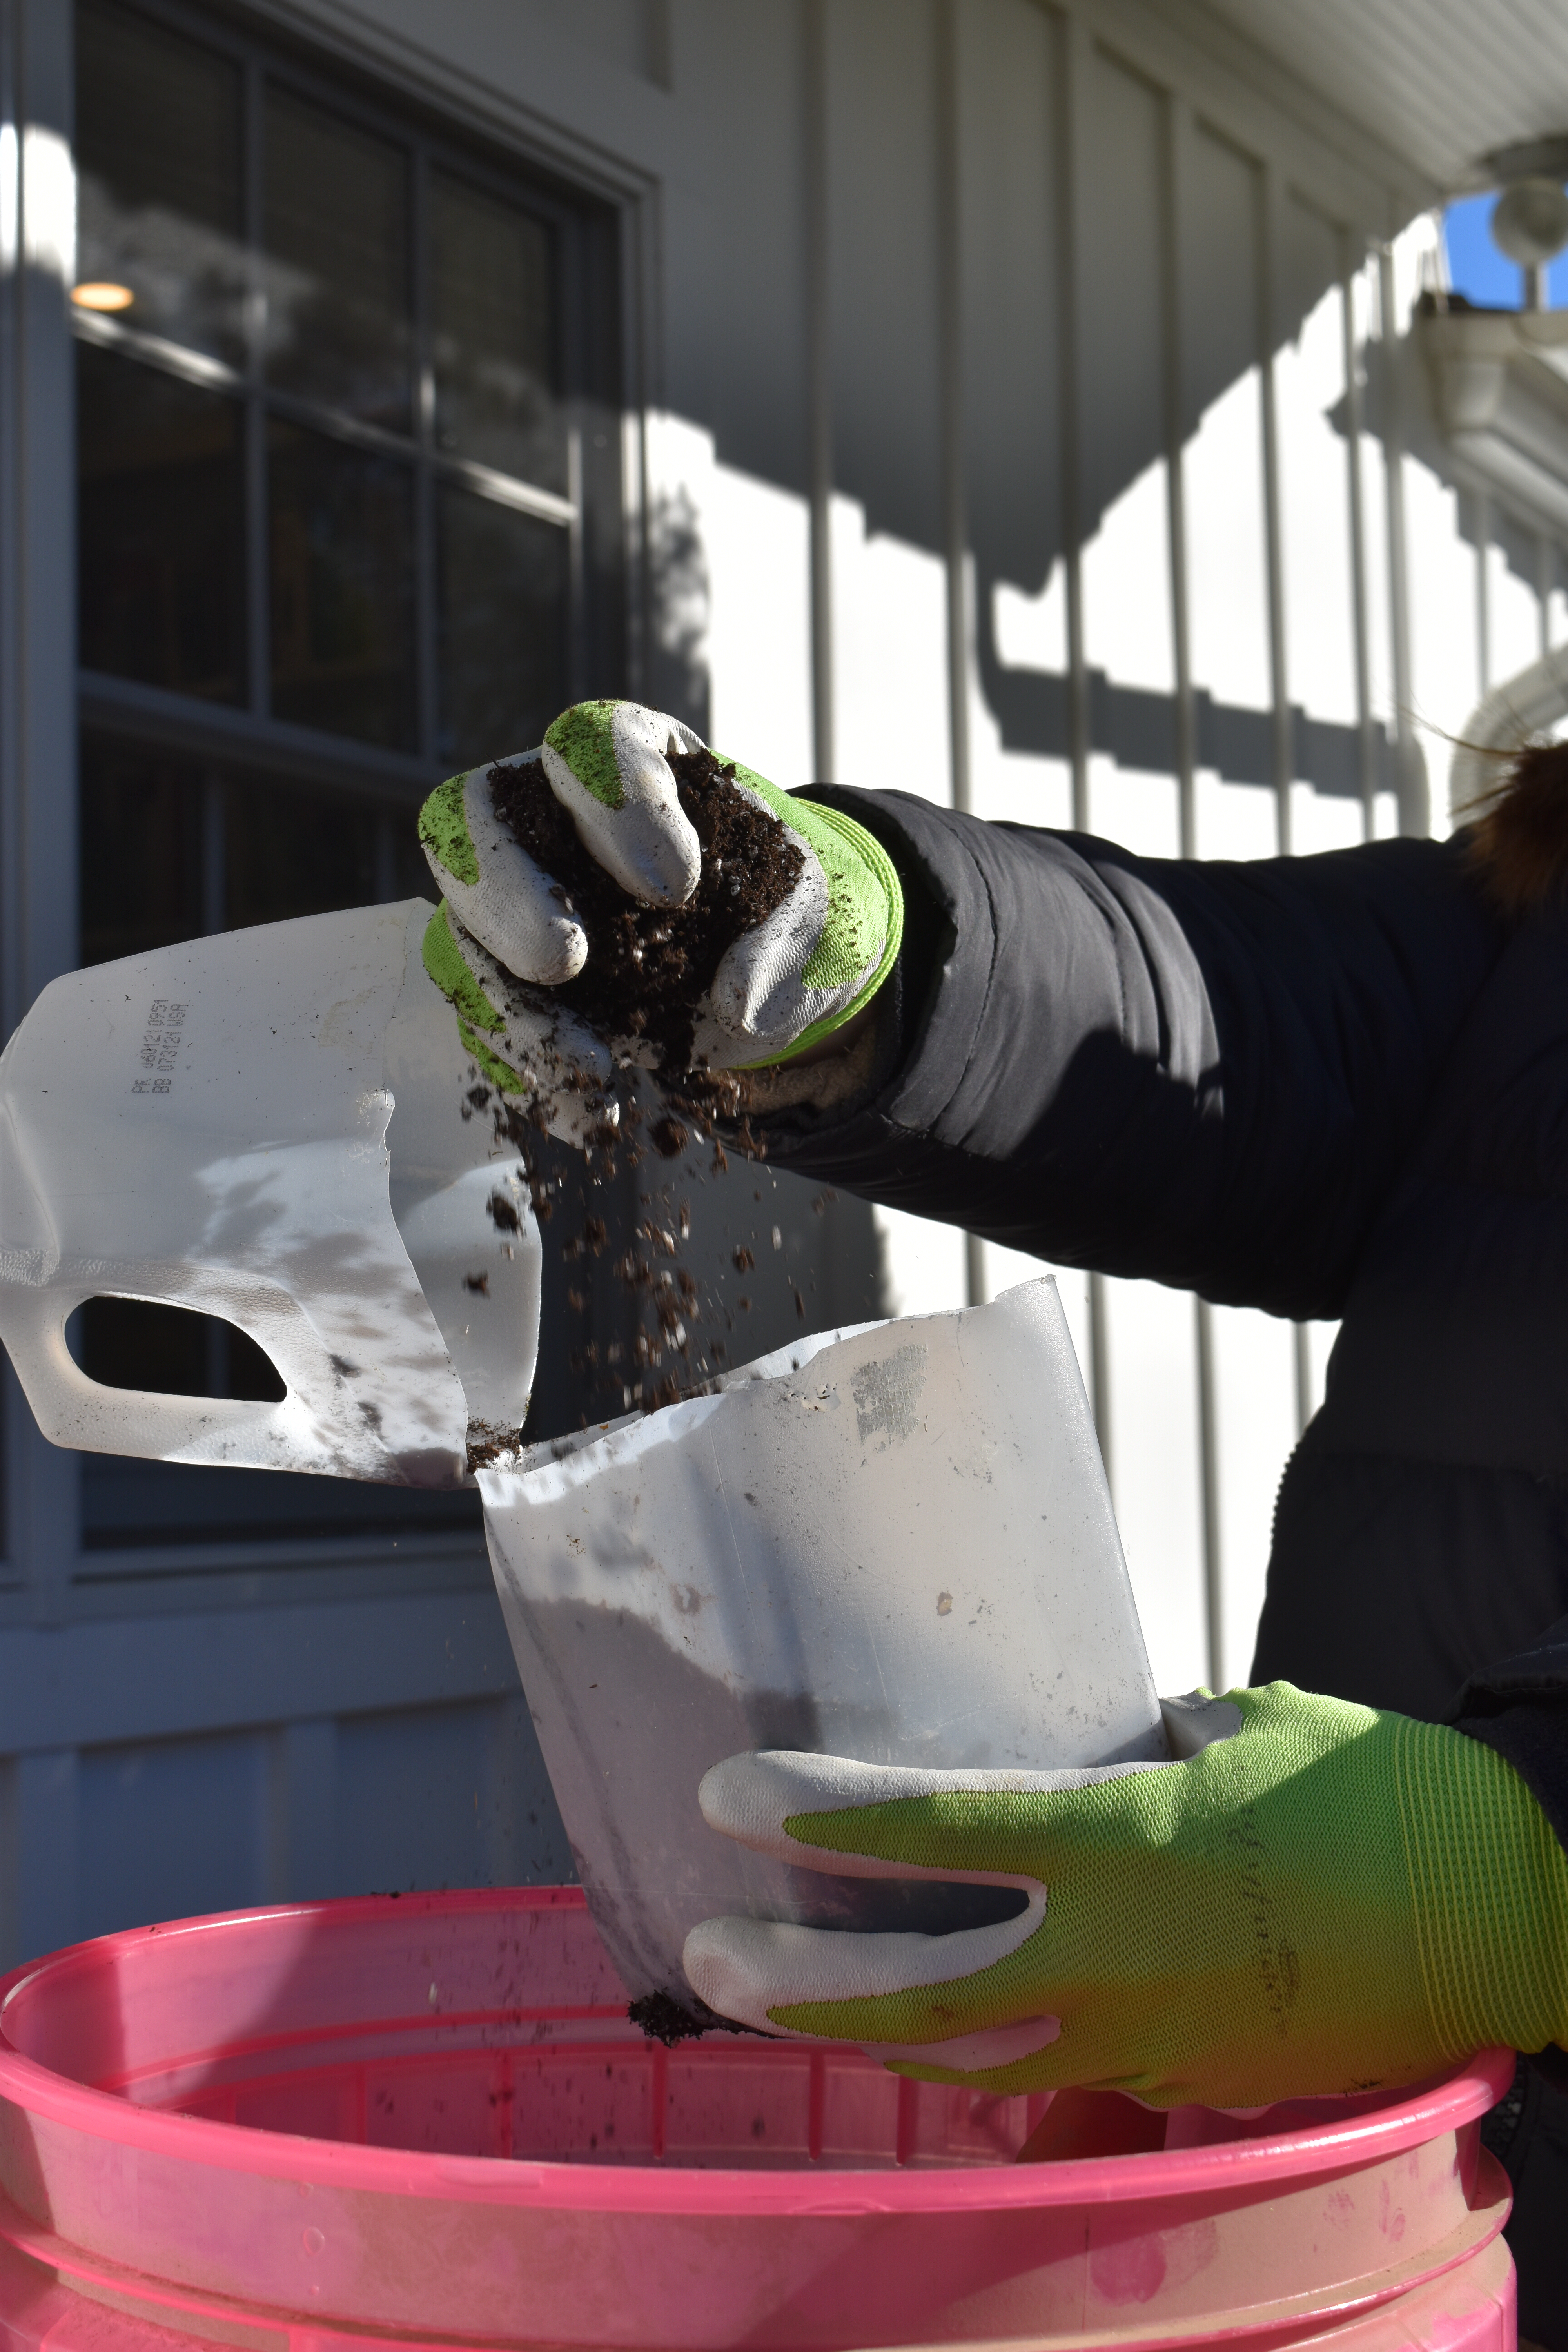
Mix up a potting soil mixture that is free-draining by adding extra grit or sand to regular potting mix – peat-free if possible. You can moisten the soil before you put it into the container or afterwards.
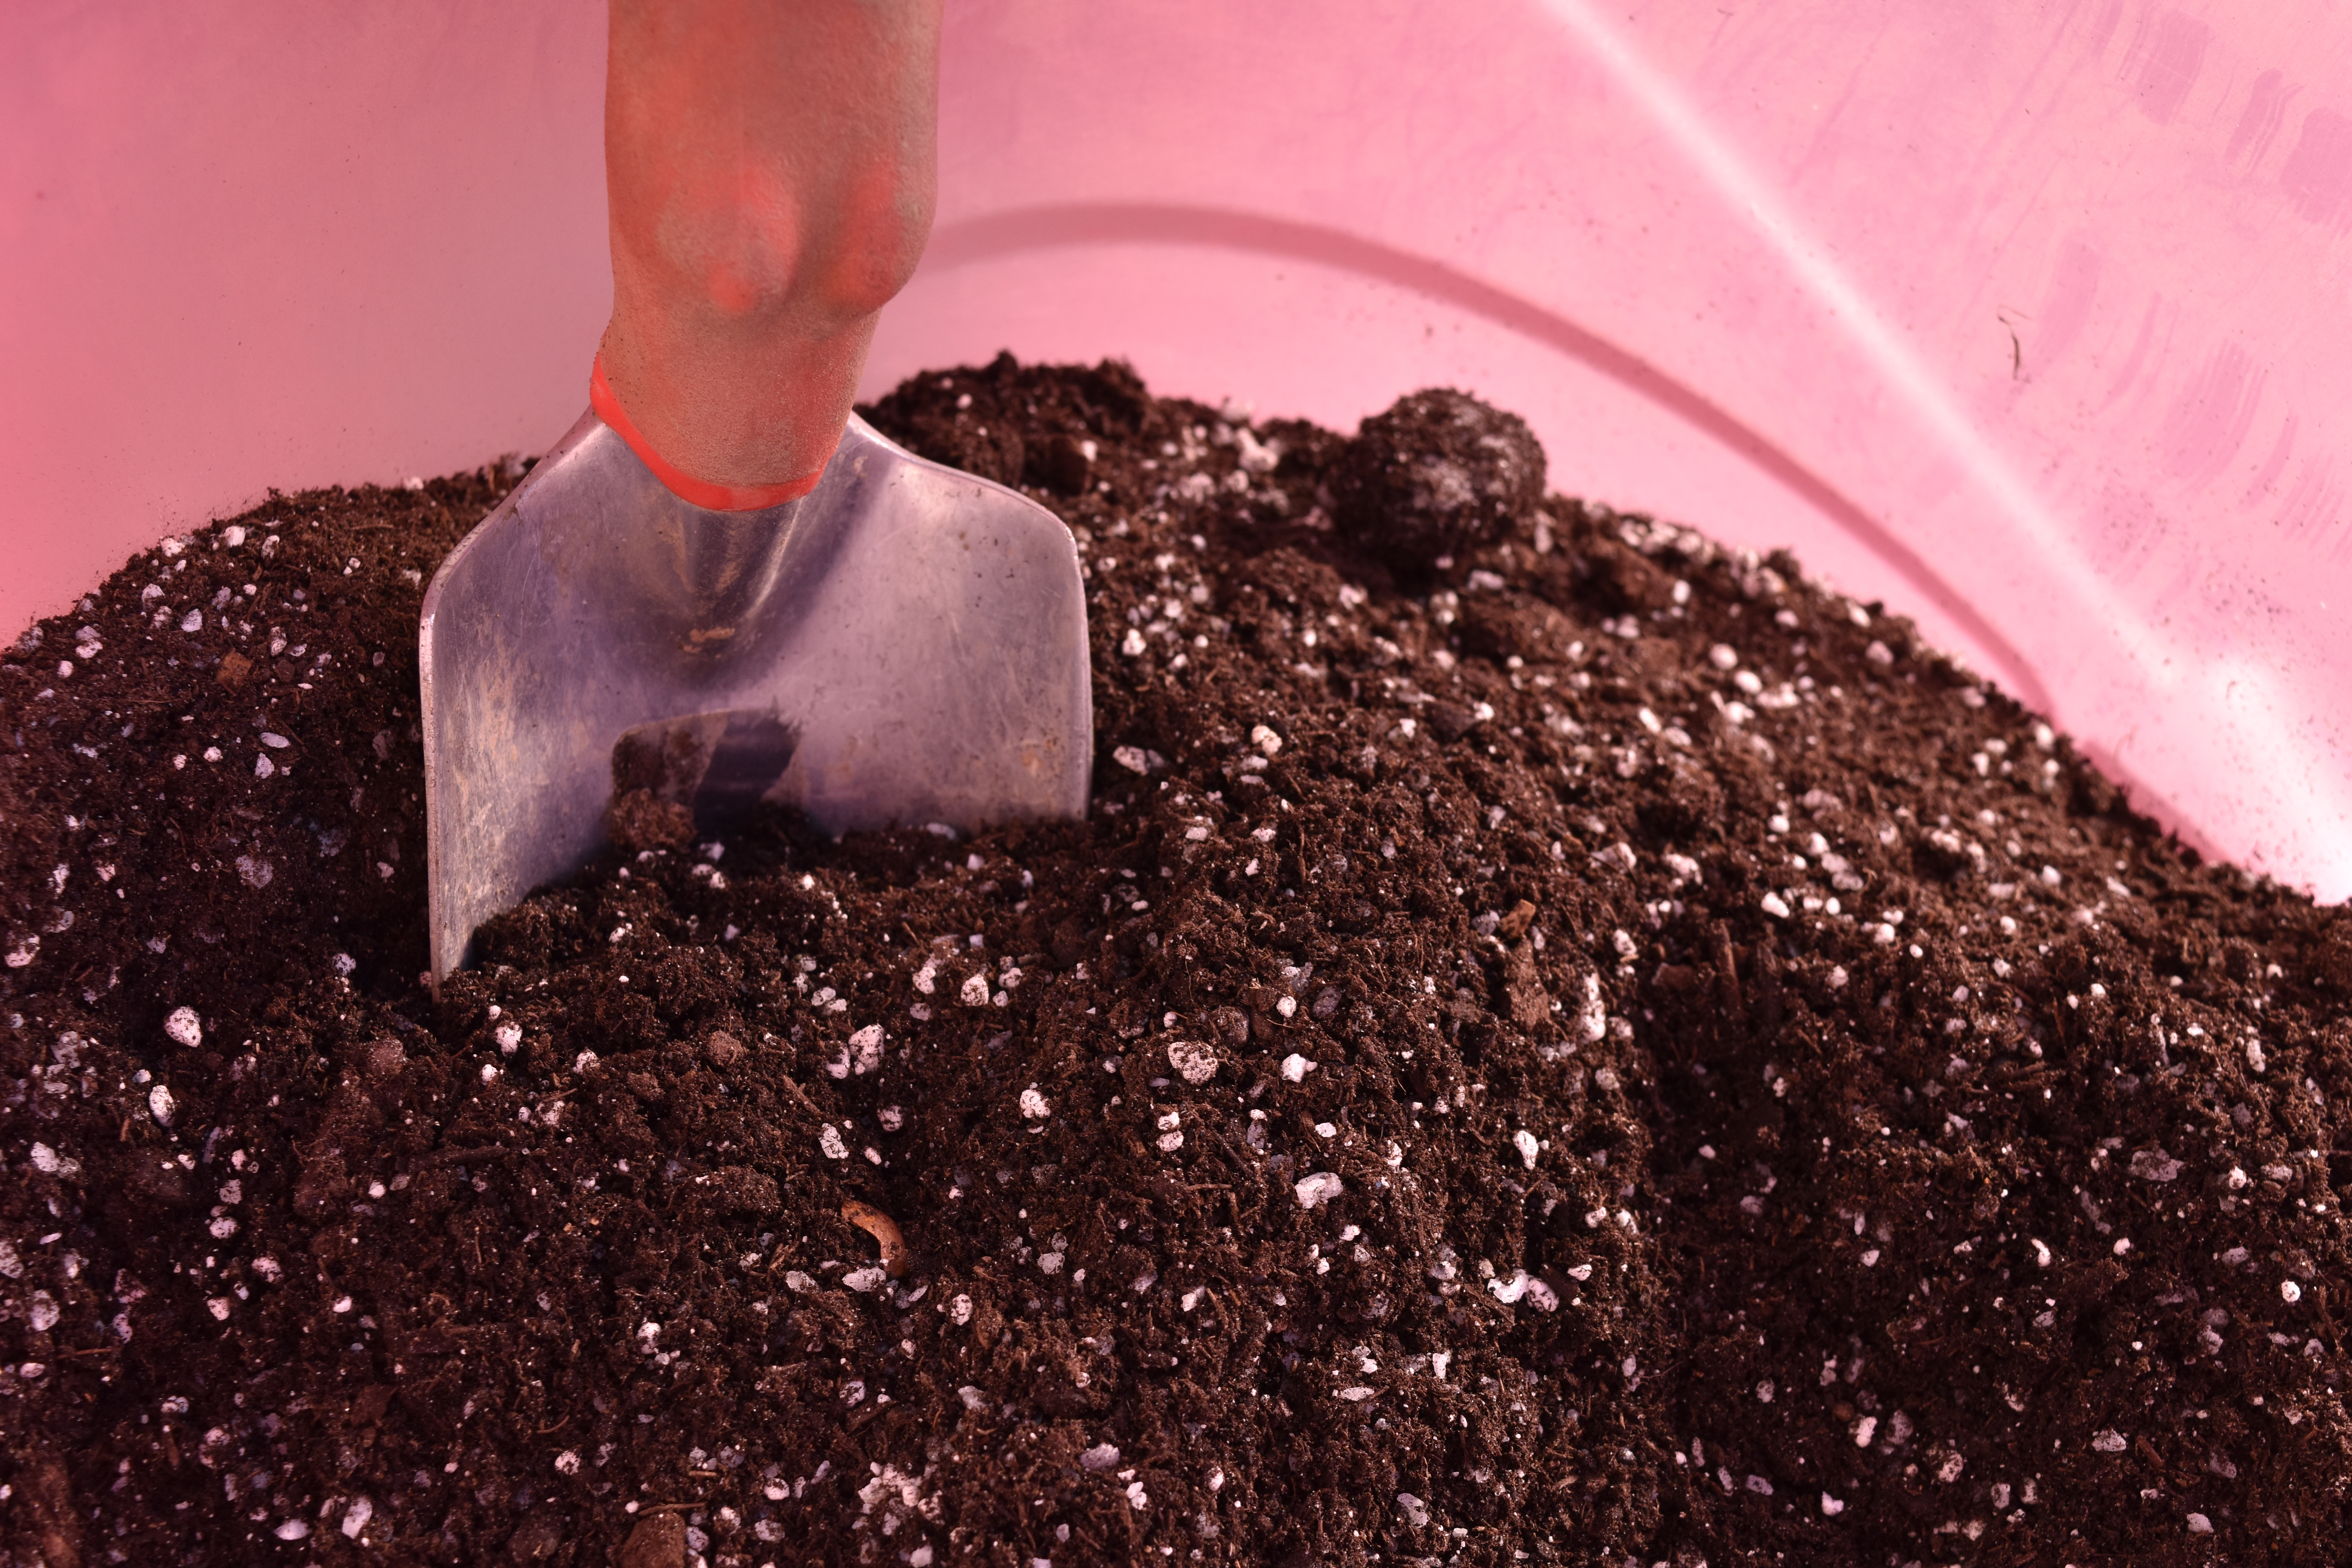
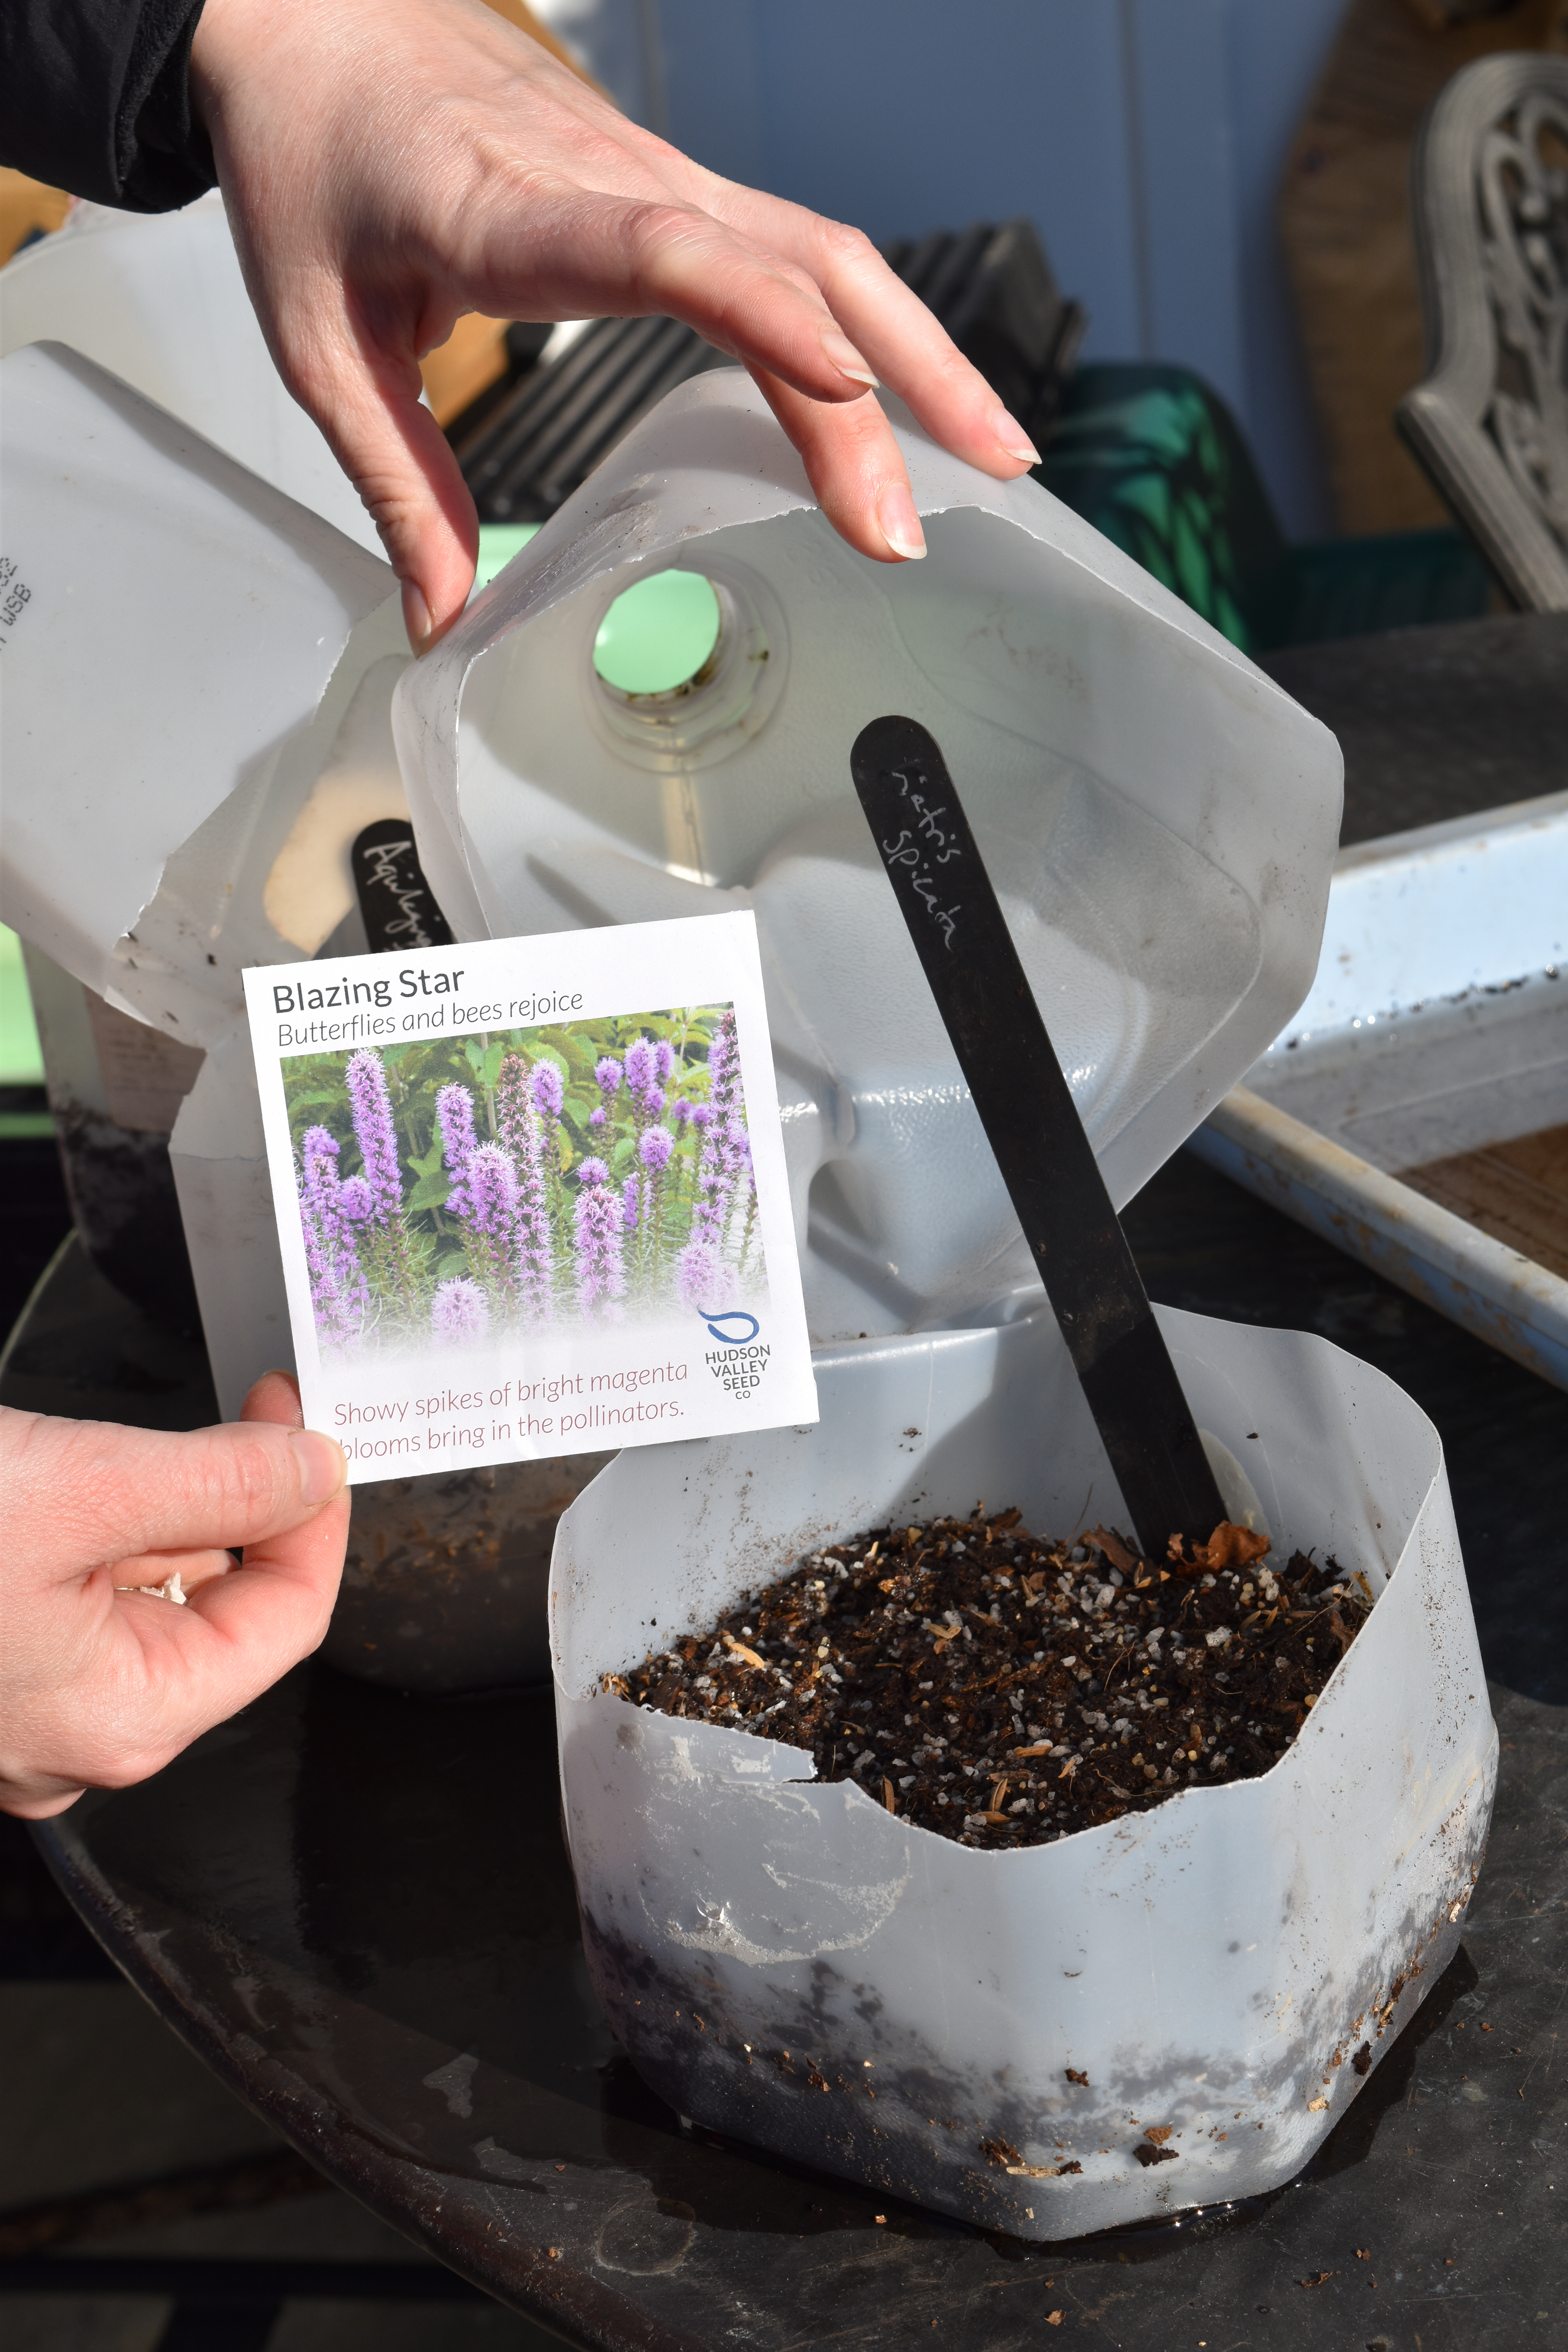
Fill the jug with potting mix about three-quarters of the way up the section below the cut
Water the potting mix so that water runs through the holes in the bottom. Leave to drain.

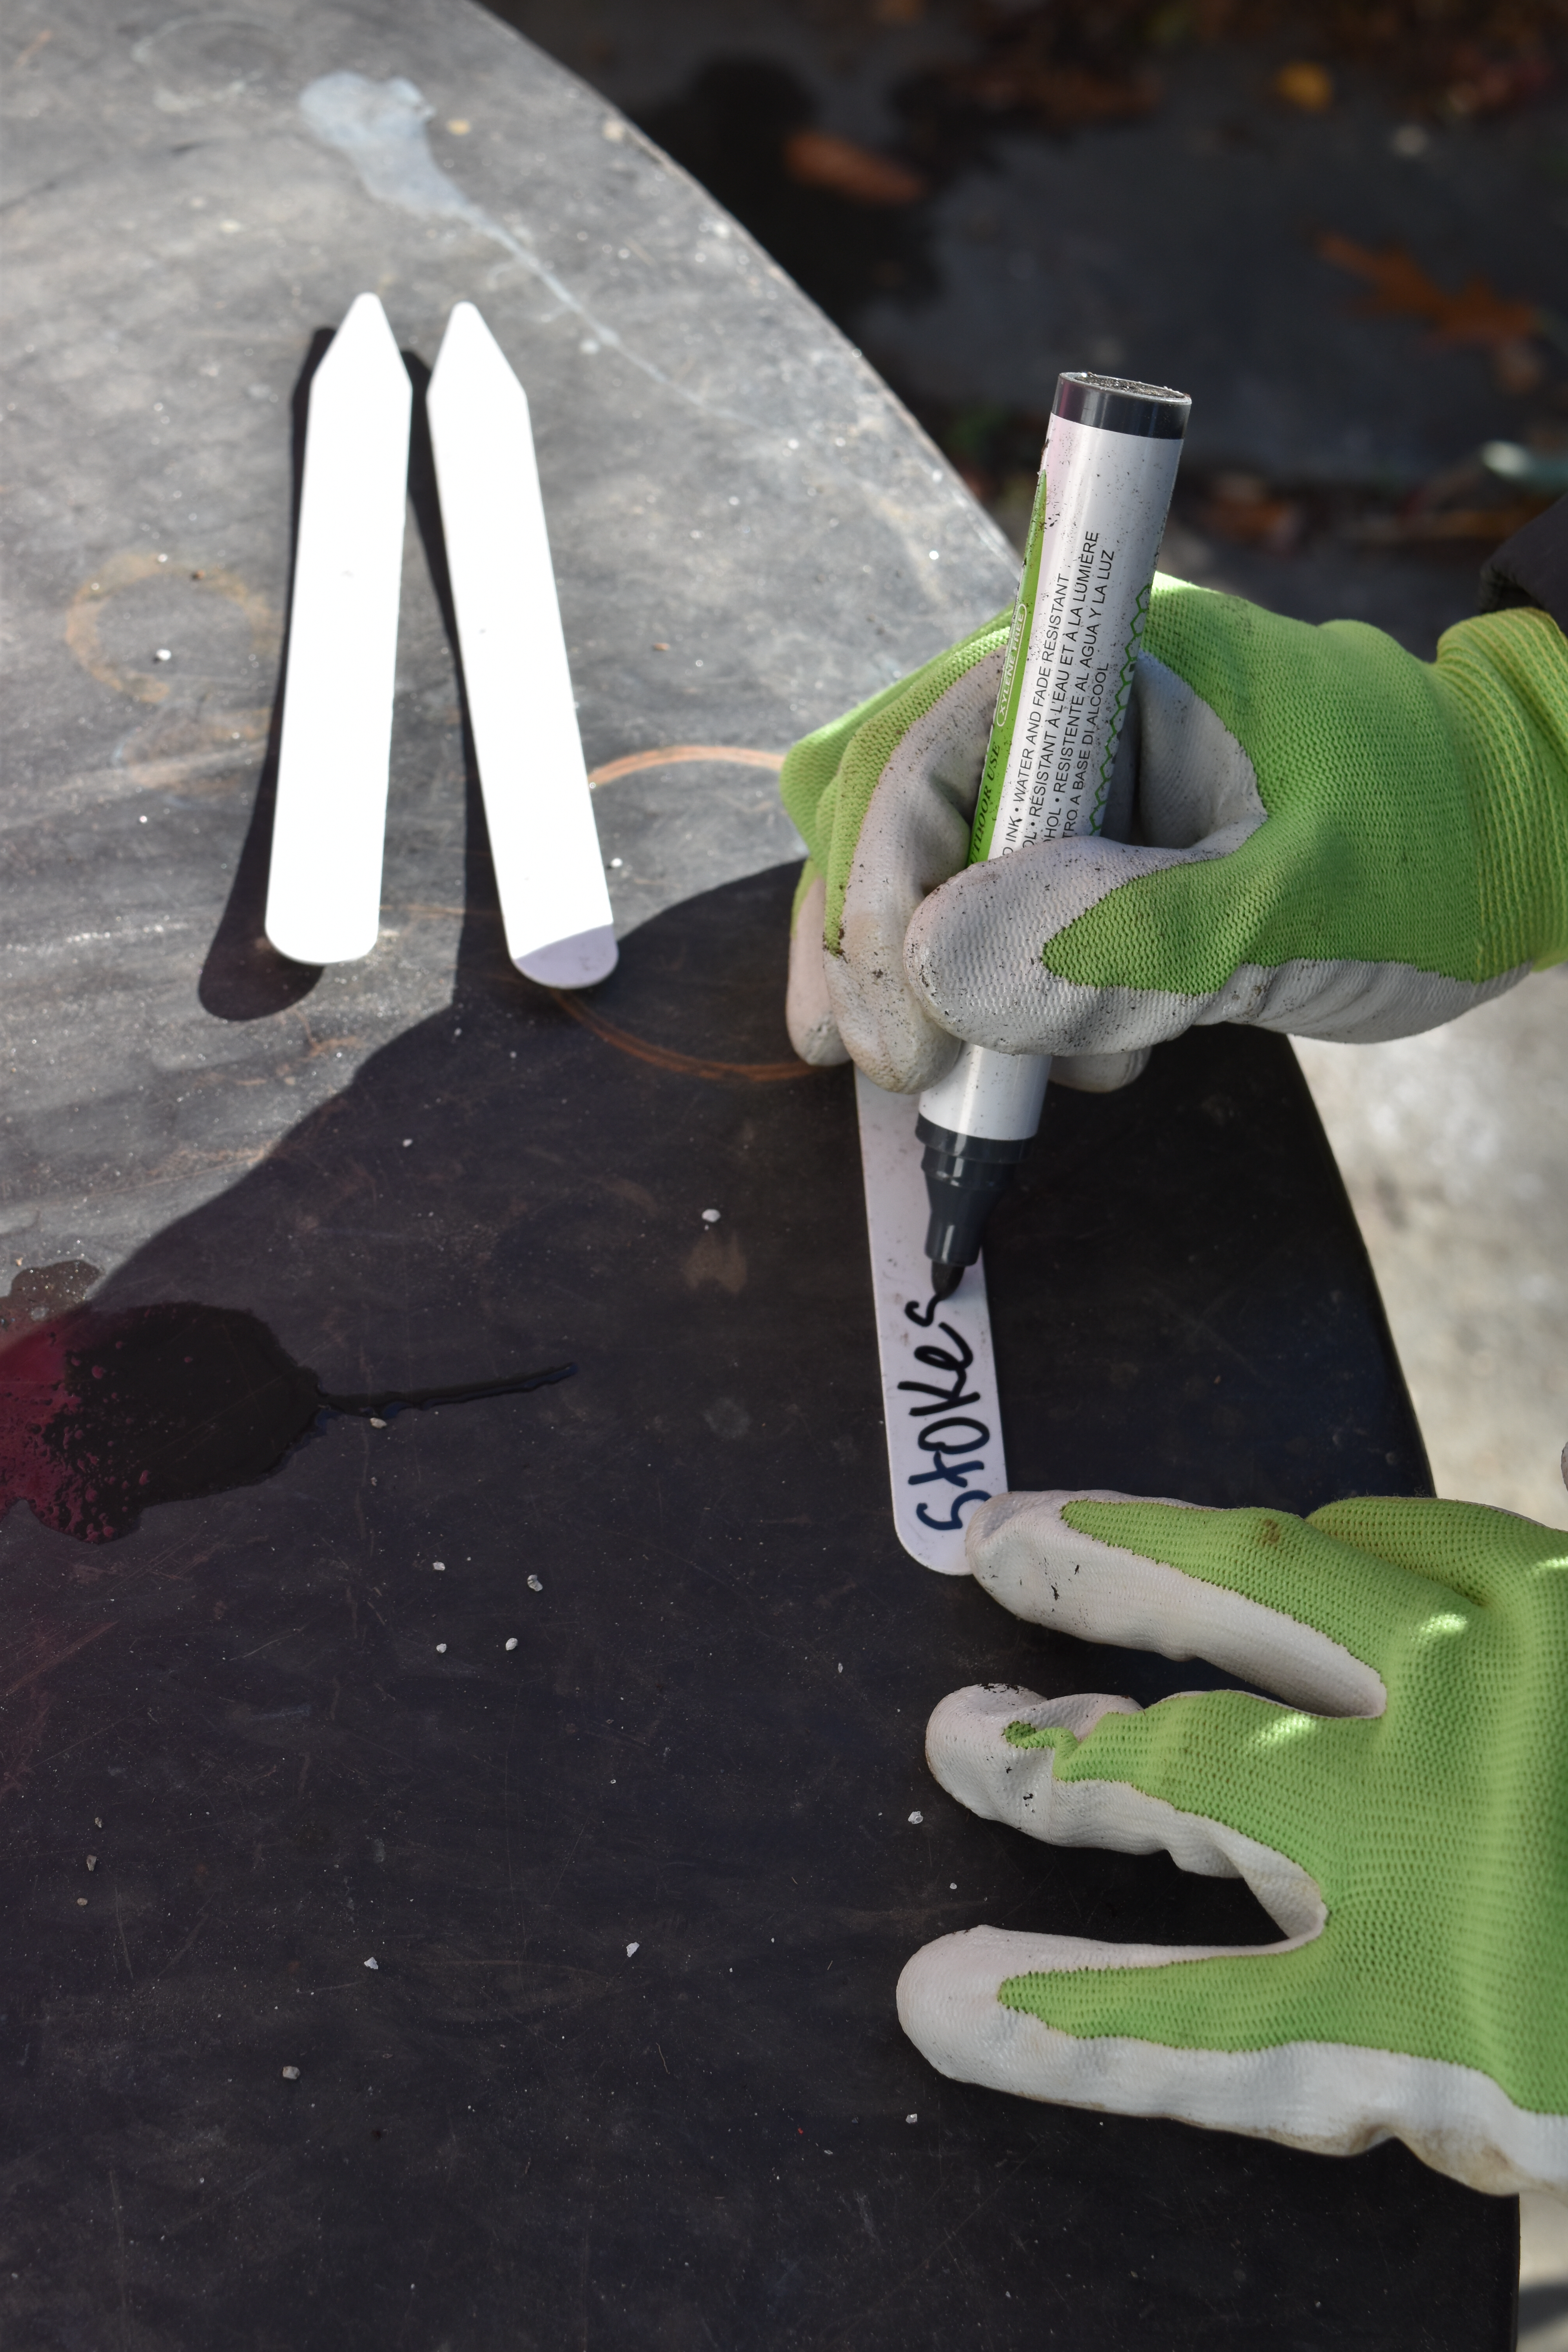
Assemble seeds of hardy annuals or perennials, and plant markers and marker pens. The seeds have to be able to survive in winter temperatures outside. Save your warm-season annuals and plant them later.
Make labels for each jug or write on the jug itself – it may fade on the outside so a label is best.
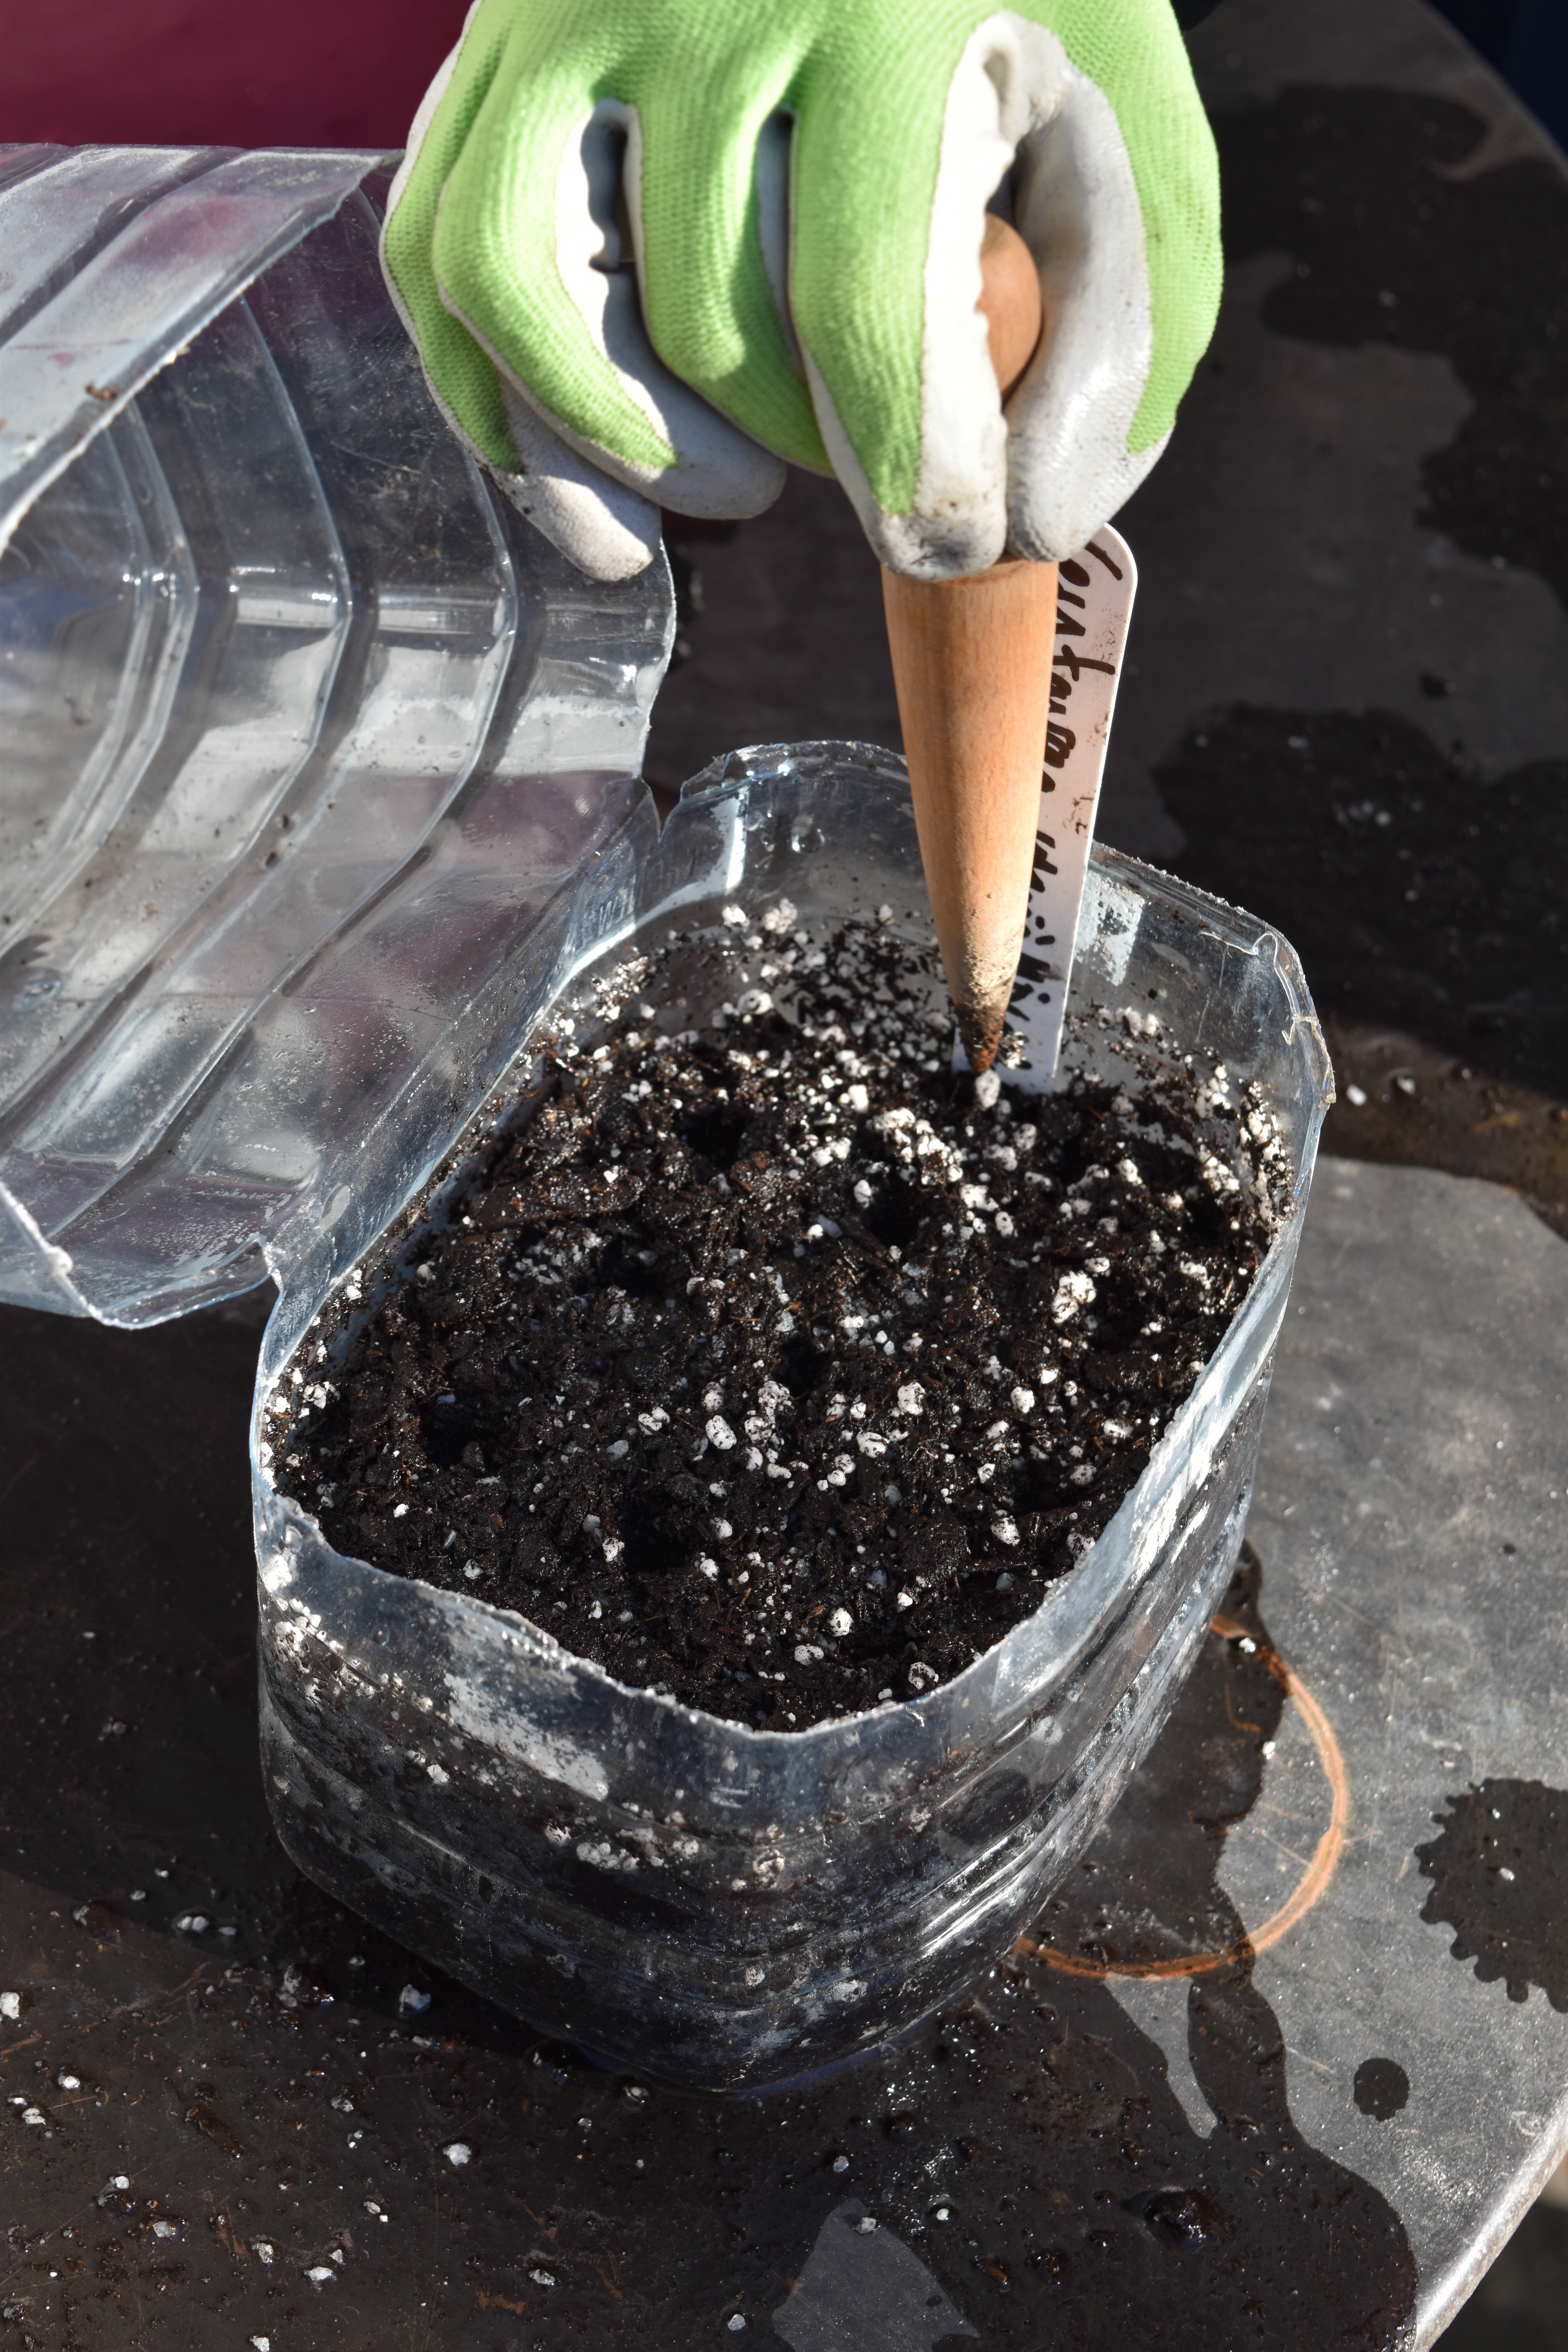
Make holes at the correct depth in the potting mixture using a dibber or the end of a pencil. Check the seed sowing depth on the seed packet. Do not plant too many seeds per jug. If the young seedlings are overcrowded they will have to be transplanted out into larger pots quickly
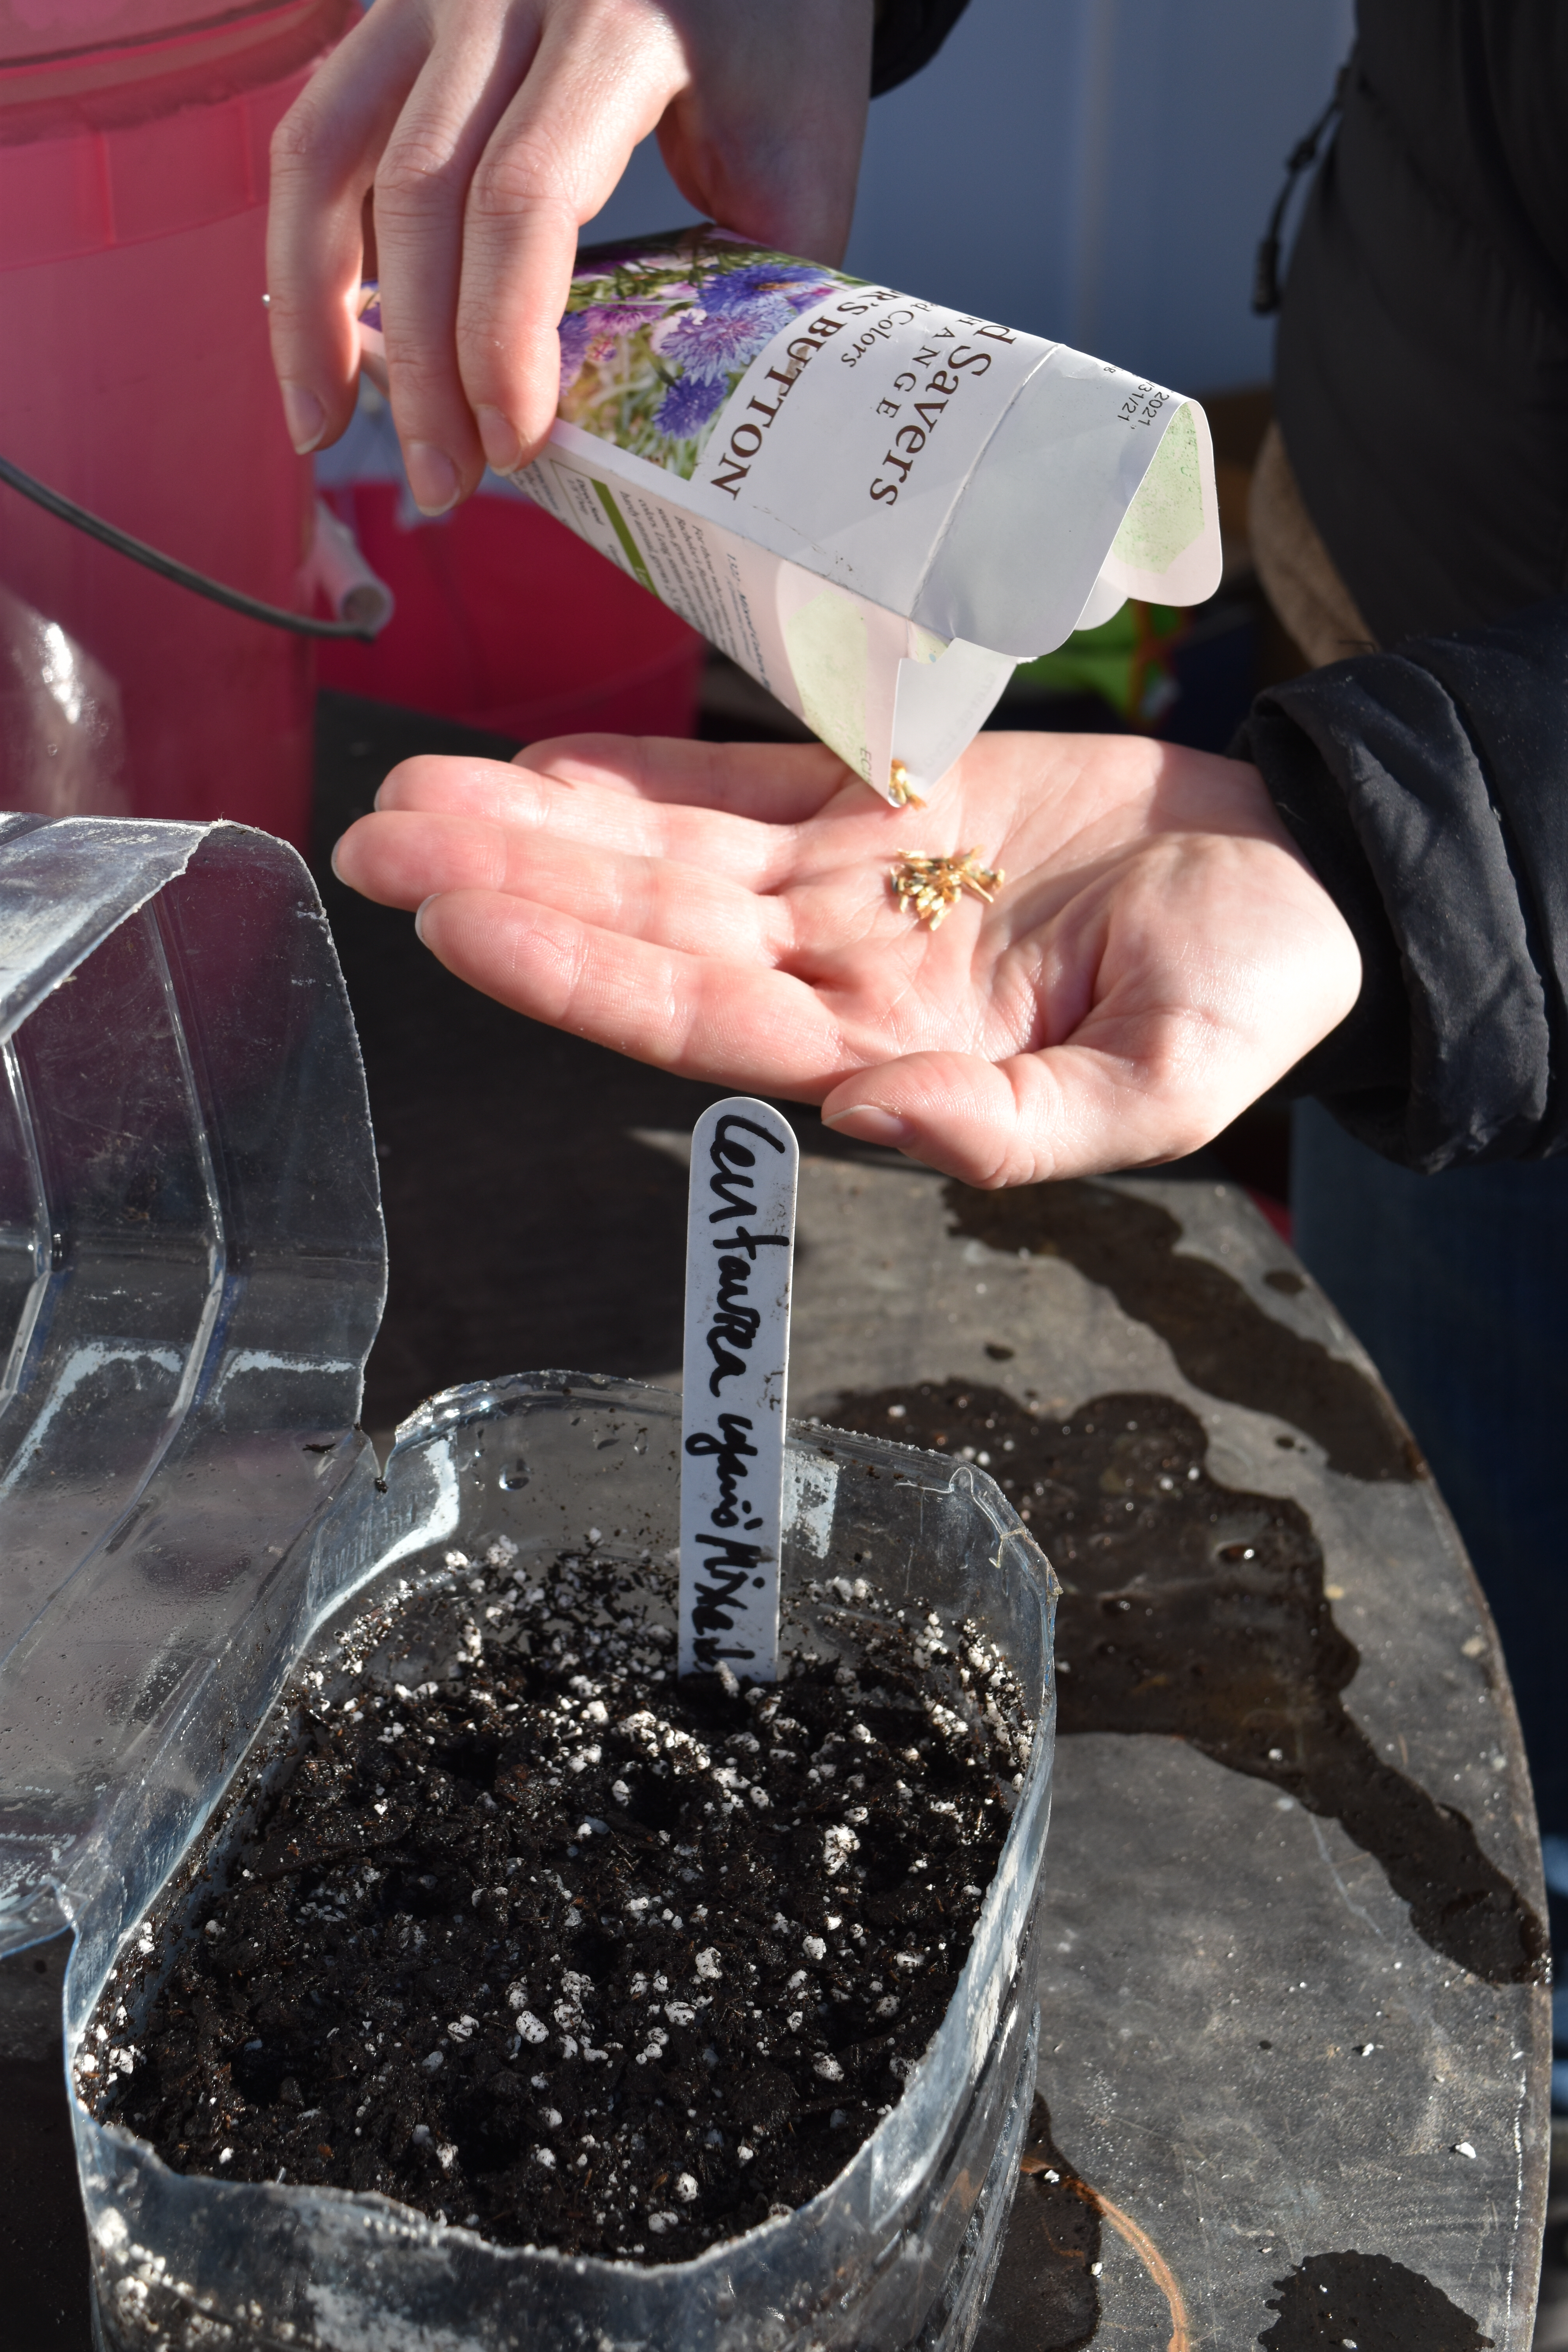
Pour the seeds into your hand so that you can carefully plant the seeds into the holes. Do not plant too many seeds in each container otherwise the seedlings will be hard to get out after they germinate.
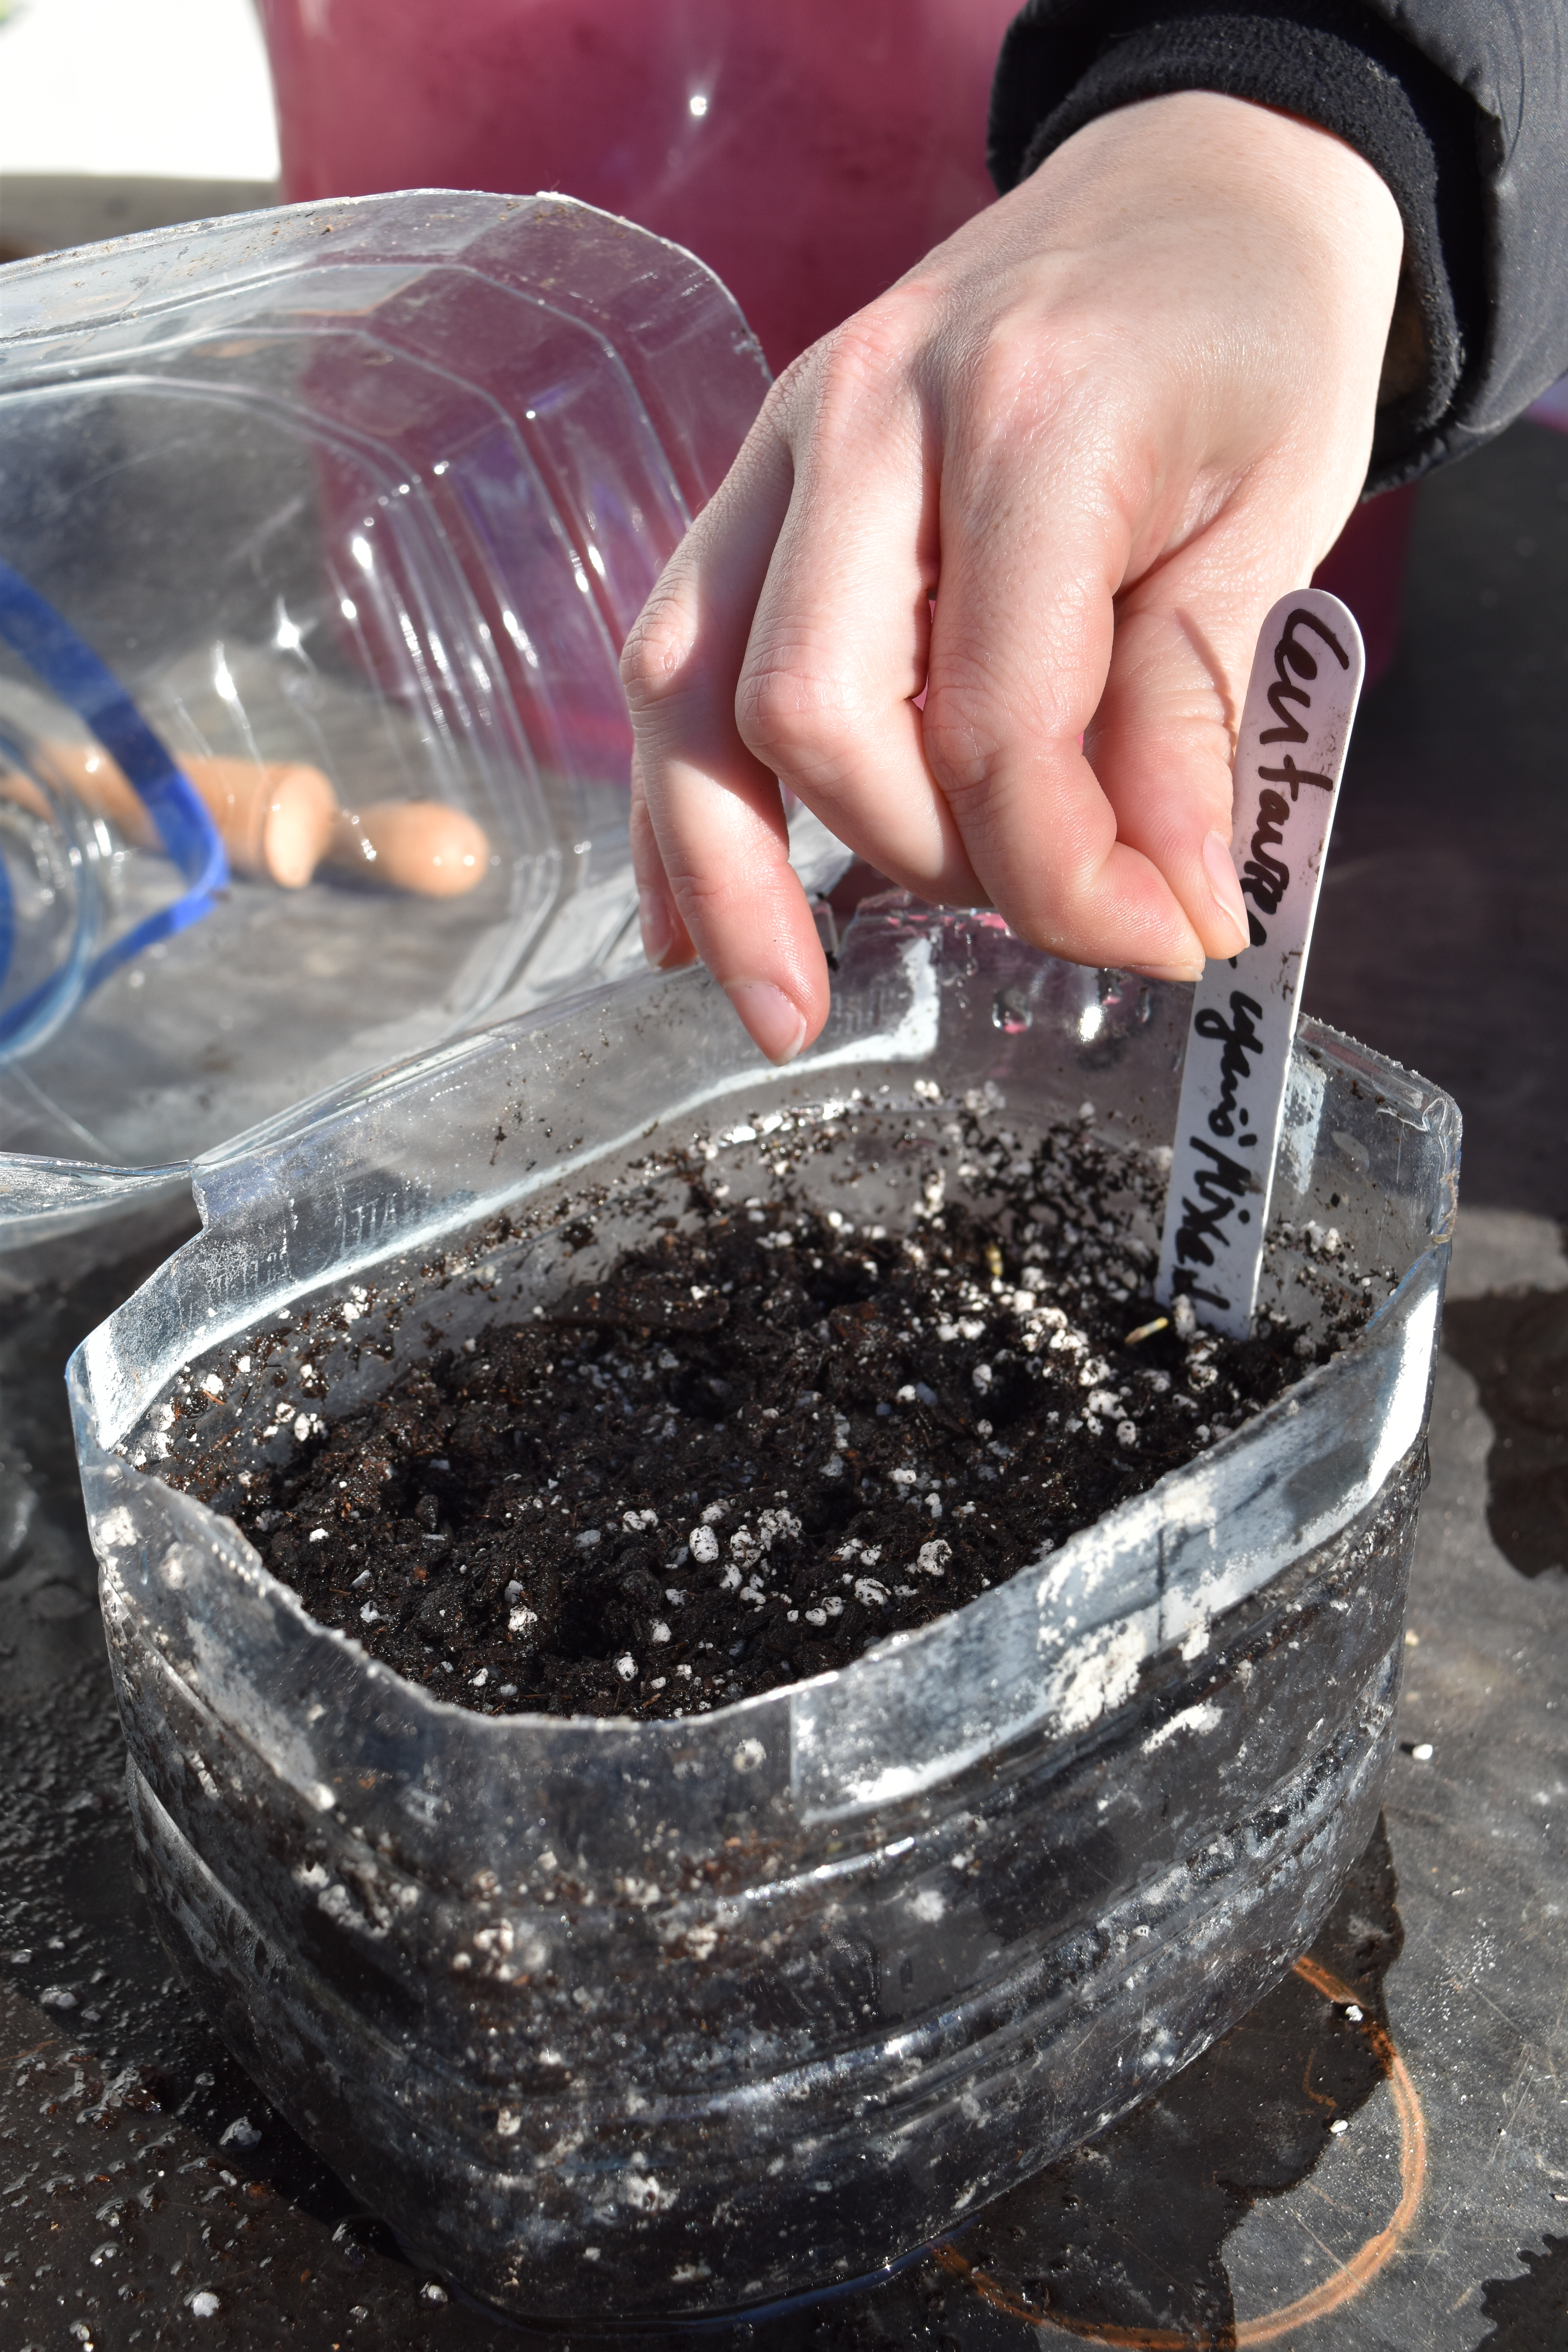
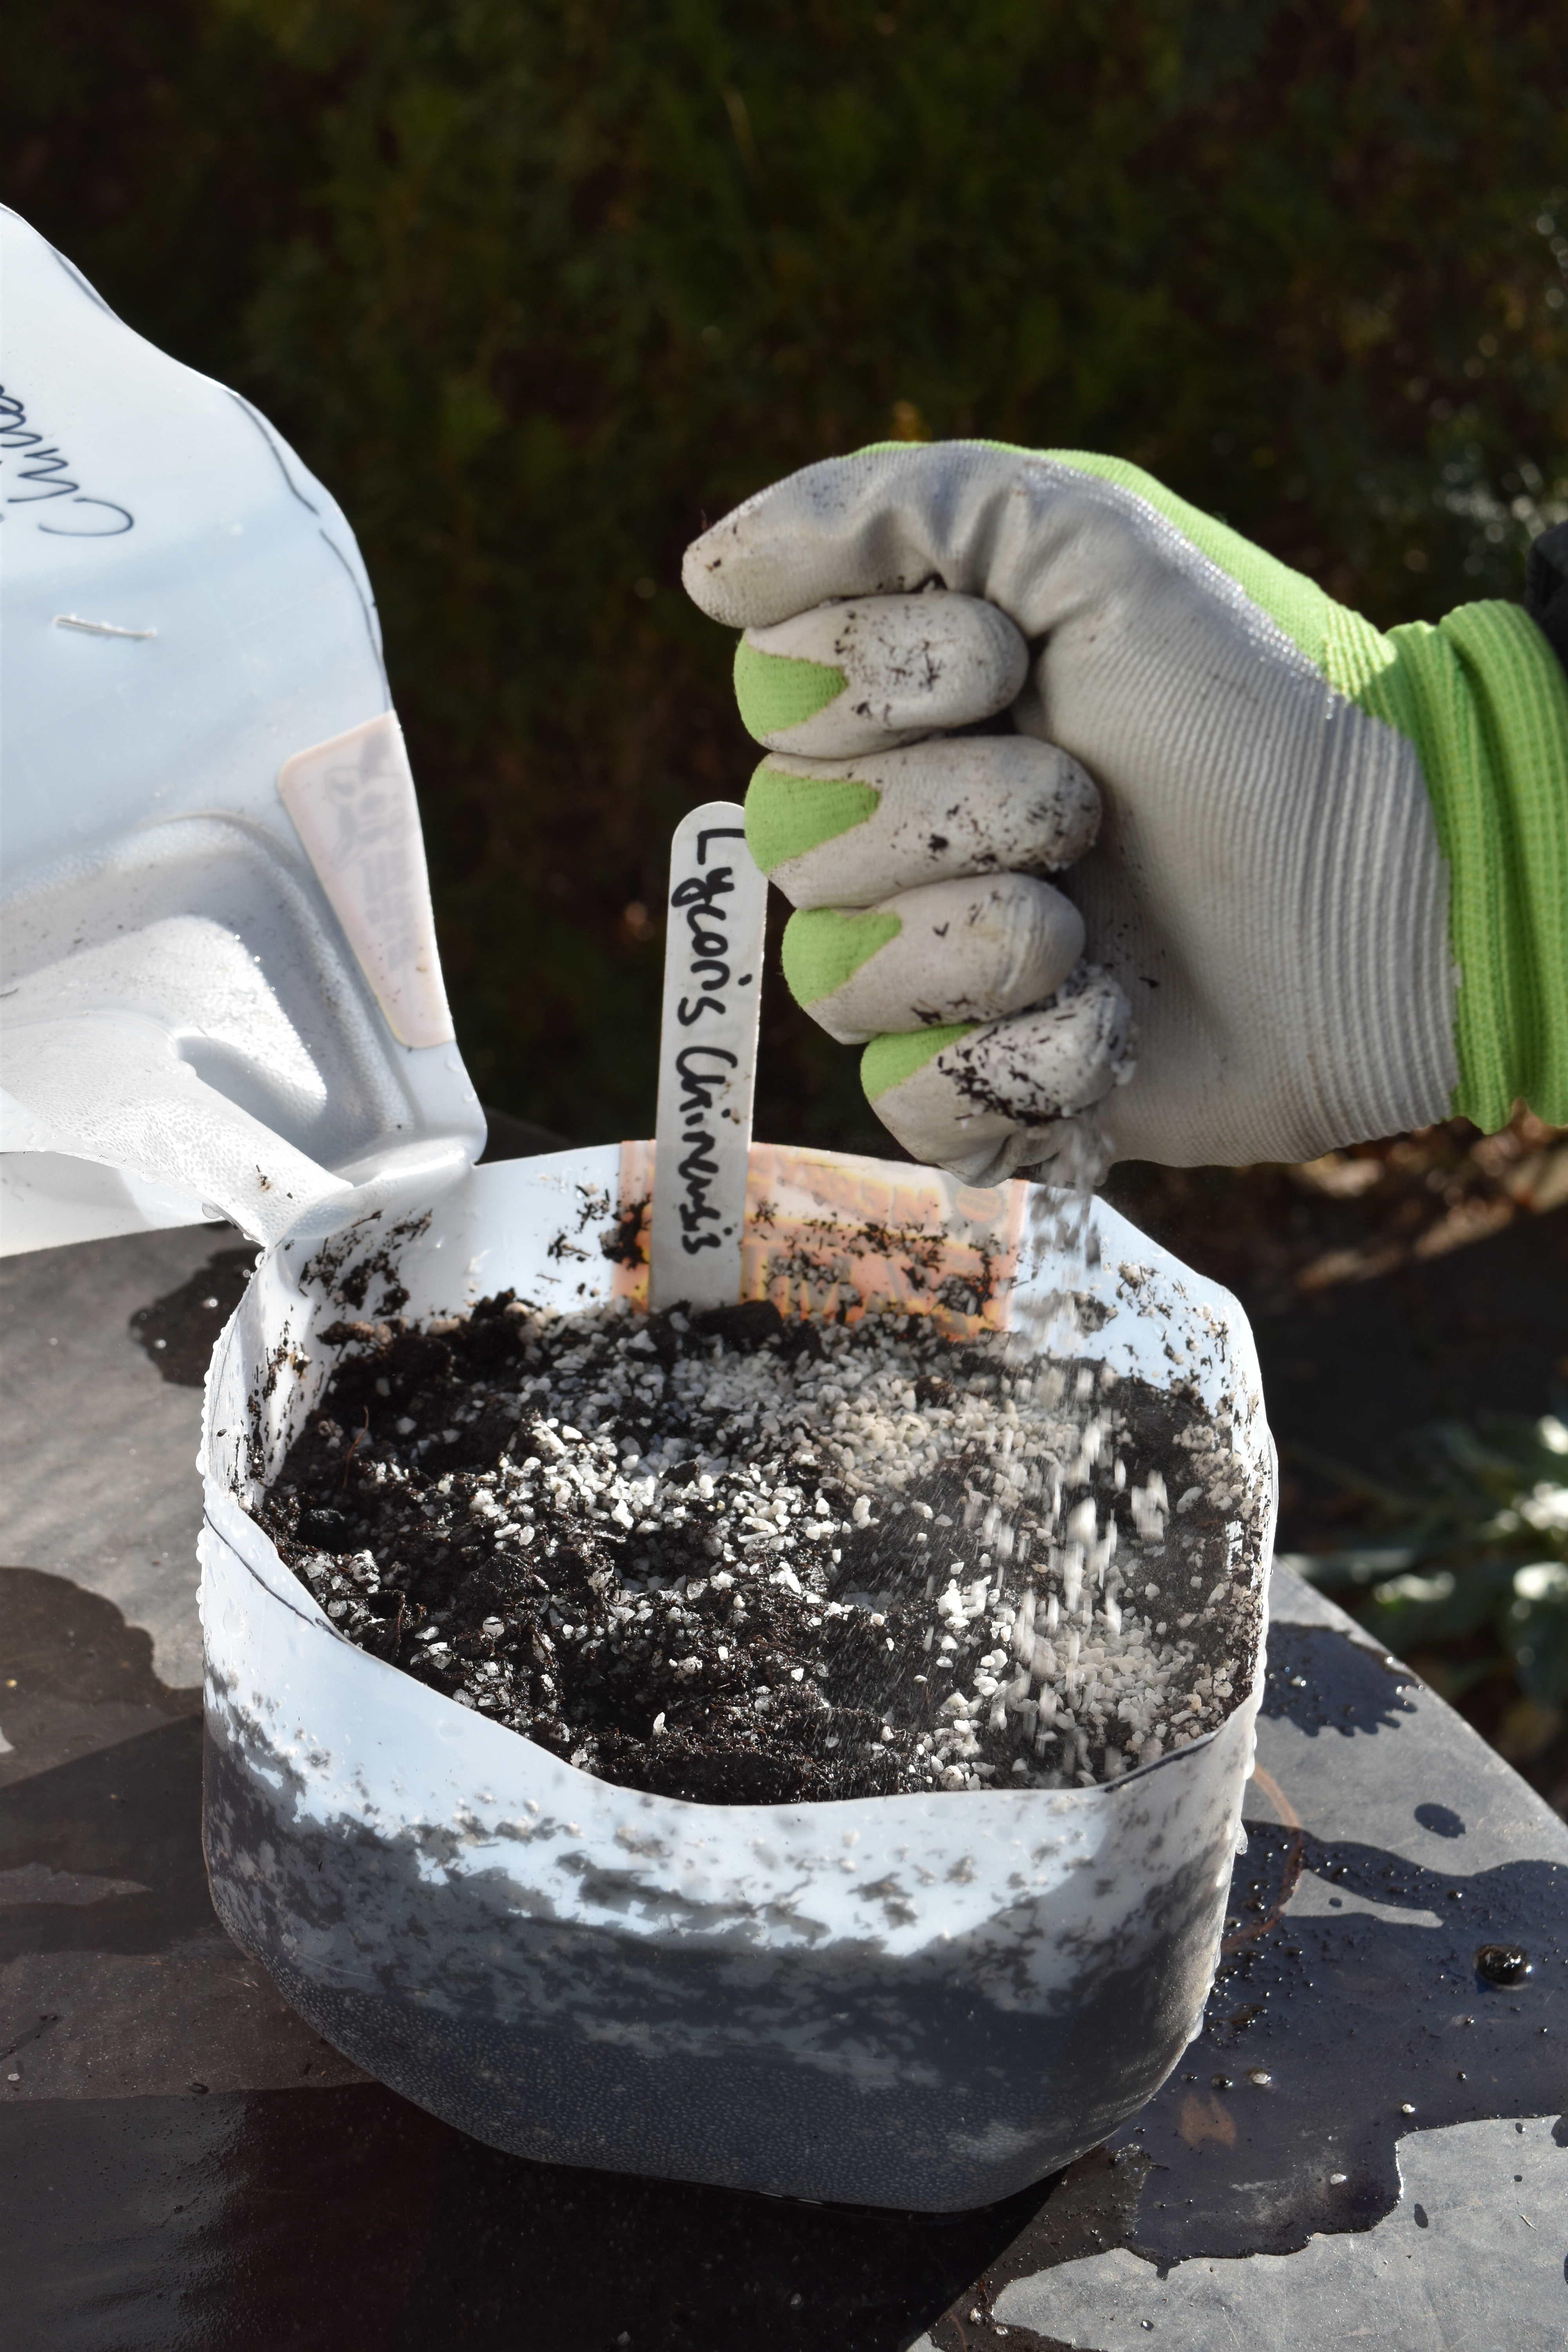
Cover the seeds if they require darkness for germination. A light covering of grit or sharp sand is a good choice for many seeds. Grit keeps the seeds in place and holds the seeds in place without keeping them too wet.
Using duct tape, seal the top of the jug back to the bottom around the cut line. You can write the name of the plant on the outside so that you know which seeds are which.
NOTE – There is no lid on your mini-greenhouse. The hole in the top helps with air circulation and lets in air and light
Place the planted jug carefully in a slightly sheltered place, but where it still will get rain, snow, frost, and all the winter weather required to begin the germination process. The cold weather is needed to help the seeds germinate. A sunny place is needed as the plants grow. Dappled shade is great.
NOTE – THIS METHOD OF SEED SOWING IS ONLY USED FOR HARDY, COLD-TOLERANT SEEDS AND NOT WARM-SEASON ANNUALS OR PERENNIALS
As the temperatures rise in the spring make sure that your jugs – which act like mini greenhouses – do not get too hot. Crack them open after the seeds germinate and then take off the top altogether. It is easy to cut off the flap with scissors. Save the tops so that you can re-use the same mini greenhouse next year. You will need to wash them out before reusing.
Water them gently from the bottom if you do not get rain. Place the container into a shallow tray of water and let it soak up some moisture. Then let the container drain. The soil should be moist but not wet.
Good luck as you experiment with this method of seed sowing. Your little plants are tough and hardy and can be transplanted from the milk jug into the ground or separated into larger pots. Remember to hold them by their seed leaves only – and not their stems. The stems are fragile.
Later in the growing year, as the outside temperatures warm up you can use this mini-greenhouse method to start other types of seeds that are not as cold-hardy. Try sweet peas, pot marigold (Calendula), snapdragons, nasturtium, and other annuals.
Here are some of my favorite cold-hardy seeds to try with this method of winter seed sowing:
- Alcea (hollyhock)
- Aquilegia (columbines)
- Centuarea (cornflowers)
- Echinacea (coneflowers)
- Liatris (blazing star)
- Lycoris (surprise lily)
- Nigella (love-in-the-mist)
- Oenothera (evening primrose)
- Rudbeckia (black-eyed and brown-eyed Susan)
- Stokesia (Stoke’s aster)
Next month I will talk about snowdrops (Galanthus). A winter obsession!
Discover more from Before You Garden...
Subscribe to get the latest posts sent to your email.

2 Responses to Winter Seed Sowing in Old Milk Jugs
Very good advice, Its my second try, 2024 had 35% ok. Im a older gardener, in 5a. any advice when to put out the Hardy seeds, we have no snow?? yet. ty sj
Right now is a great time to plan your hardy seed sowing – count back about four weeks from your last frost date and any seeds that are labeled as hardy annual can be planted outside then – in the winter jugs or straight into/ or onto the soil – for poppies – Good Luck – JRC